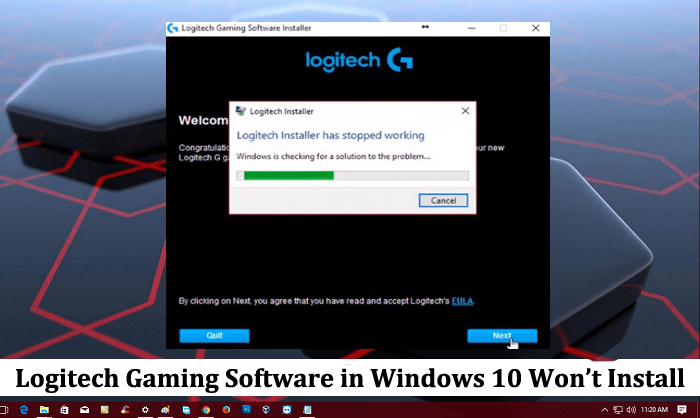
With the help of Logitech gaming software offers intelligence and power to your equipment which in return makes it possible to enjoy all the advanced gaming features. The features include multi-key commands, profiles, and the LCD display configuration. You can customize Logitech G gaming, keyboard, mice, select wheels, and headsets. As a gamer, if you have chosen to purchase Logitech gaming device, then it is essential to install Logitech gaming software to get most out of it. But what if Logitech gaming software won’t install when you’re trying to install it on your Windows 10 PC? Offcourse it is an annoying issue. Windows 10 users are complaining that when they click on the software setup to start the installation the installation welcome screen appears and as soon as they click on Next button to continue the installation the dialog box appear with the message which reads “Logitech installer has stopped working.” As a result, the installer aborts the process.
Logitech Gaming Software in Windows 10 Won’t Install
To rescue those users from this Logitech gaming software installation issue. I decided to cover this post with a possible solution to troubleshoot the problem.
1. Reboot Windows 10
One of the simplest and easiest ways to fix the Windows 10 issue is by rebooting the system. So before following any troubleshooting step try this fix.
2. Install the Windows 10 Latest Update
Windows Update is the feature of Windows operating system by which Microsoft delivers all the important updates to users system depending on the system configuration. It includes bug fixes, new features, security updates, improvements and much more. In case, Logitech gaming software is not installing; then it could be due to a bug in the system. So it is vital to keep your system up to date to keep your system away from the issue. To check Settings -> Update & security -> Windows Update. On the right pane, click on Check for updates button. If any update available, then install it, reboot the system and again try to install the gaming software from Logitech. In case, the system is updated to date, try the next solution.
3. Exit Easy Settings Box from System Tray
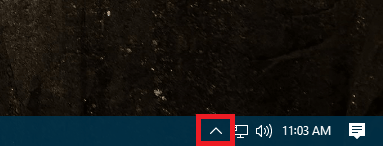
Lots of users reporting that they were facing the issue because of Easy Settings Box program from Samsung. It let users use the system monitor by partitioning various sections. To fix the issue with gaming software users need to exit Easy Settings Box from Windows 10 system tray. For that: Click on the UP Arrow icon available at the right side of Windows 10 taskbar.
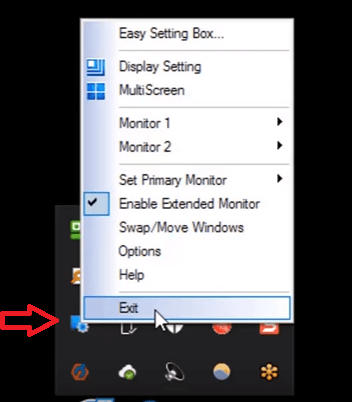
In the system, right click on the program named as Easy Settings Box and select Exit from the context menu.
Note: In case, you’re not using Easy Settings box, then try to exit all the active programs one by one available in the System Tray. And troubleshoot the issue. That’s it! I hope you find this troubleshooting guide useful and fix the issue Logitech Gaming Software in Windows 10 Won’t Install. Why don’t you give a try to these solutions and let me know if it helped you or not? Also if you’re facing any other issue related to Logitech Gaming Software drop it in the comments.