Most of us spend lots of time staring at computer screens so why not make it more productive and prettier. Luckily there are lots of customization tools available on the internet using which you can customize every inch your device desktop no matter what operating system you use. And Rainmeter is people’s choice nowadays. What is Rainmeter? For those who’re unaware of Rainmeter, it is a powerful tool using which you can convert your simple desktop into an information-rich desktop that tracks your system’s current status like battery power, memory, RSS feeds, weather forecast and tons of other information. It offers various configuration options using which you can customize every pixel of your desktop the way you want using the best Rainmeter skins available. It is a powerful and useful Windows customization app once set up, but not user-friendly. By keeping this thing in mind, We decided to write this blog post. In the post, you will read everything you need to know about Rainmeter, Rainmeter skins accompanied by the tutorial to download and install Rainmeter Skins in Windows 10.
Download and Install Rainmeter Skins in Windows 10
Apart from this, you will also learn how you can customize Windows 10 pc using Rainmeter skins. So without wasting a single second why don’t you start reading about it.
1. Download and Install Rainmeter in Windows 10
- Visit the official download page of Rainmeter and download the latest and stable (4.0 Final Release (r2746) setup file of Rainmeter.
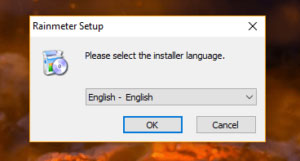
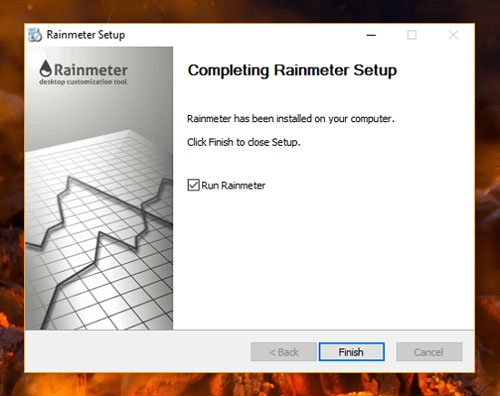
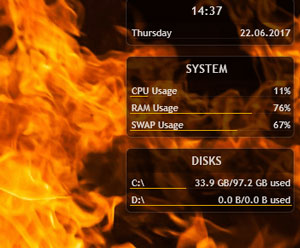
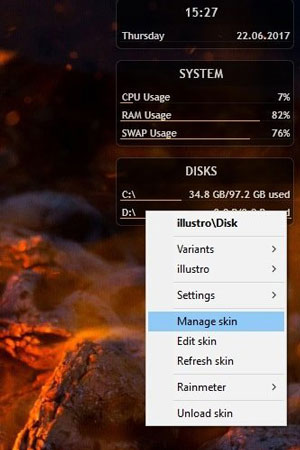
- Run the Setup file and follow the instructions back to back: Select Installation language -> Click Next Select Standard installation -> Click Next Select Destination folder recommended not to make any changes -> Click Next. Wait for a few seconds. Make sure the “Launch Rainmeter on startup” option is checked during installation, else you need to open it manually. Installation Completed. Click on the Finish button. Once Rainmeter is successfully installed, it will show you three widgets to get started, visible on the top right side of the screen. The first one will be showing you time, day, and date. The second one will be showing system stats which include CPU, RAM, SWAP usage. And the last one showing system disk statistics. It is a default Rainmeter skins. At this point, you have successfully installed Rainmeter on Windows 10 PC. Now you need to install the customizable best Rainmeter skins it could for displaying memory status, battery power, RSS feeds, weather forecast and even more. The good thing is that many skins are functional as you can control your media player, launch your favorite apps, record to-do lists, and notes.
2. Manage Rainmeter Settings
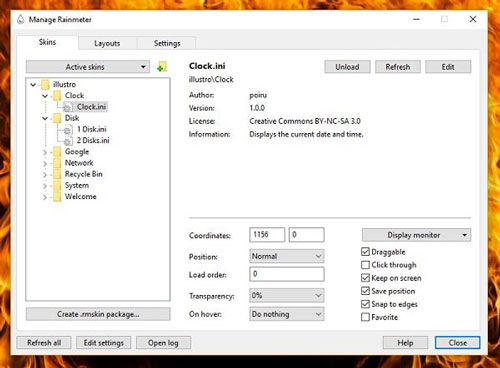
For that, you need to make right-click on any of the skins visible on the desktop and then click on the “Manage skin” option. A new window will pop up showing you a list of all the skins installed. Here you need to click on the “Active Skins” option to manage each skin separately. Here you can customize position and settings for each skin. In case you want to make skin non-draggable, you can do so by unchecking “Draggable” and checking “Click through” under Display Monitor settings available bottom right side. By doing this you will disable the right-click menu of the skins, but luckily the tool will add an icon in the Windows 10 taskbar from where you can access the menu.
3. From Where to Download Best Rainmeter Skins
The Rainmeter default skin is undoubtedly useful, but little boring. Fret not; there are lots of places to download new Rainmeter skins which include DeviantArt, Rainmeter, Customize.org, Subreddit, Lifehacker Desktop Show & Tell, and Rainmeter Forum. These sites have showcased some of the top Rainmeter skins and layouts. You can download any of them according to your desktop requirements. There are some skins like Enigma that is useful and act like a complete Rainmeter suite. From these websites, you can download Rainmeter skins of your choice which you want to install on your computer.
4. How to Install Rainmeter Skins in Windows 10
There are two ways of install Rainmeter skins in Windows 10, and you will read about both of them in upcoming lines:
Install Rainmeter Skins in Windows 10 Automatically
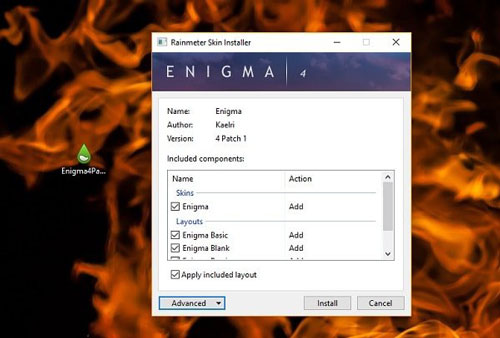
If the skin you want to install is in the .rmskin format. Using this method, you need need to make a double click on the .rmskin file, and a new Rainmeter window will come up that lets you install and enable the skins. Some skins come as complete suits with lots of features. In case, you don’t want to load all function at once, uncheck “Load included skins” options and this will add them to a list of your skins.
Install Rainmeter Skins in Windows 10 Manually
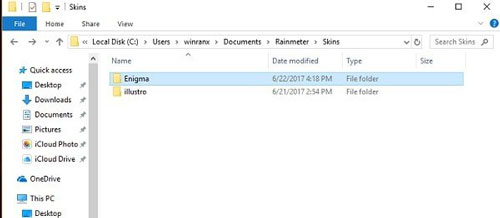
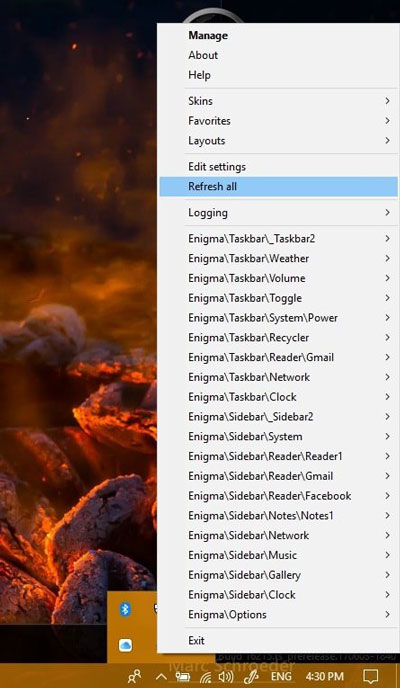
If the skin file, which you want to install is a .zip/.rar/.7z archive. Some old Rainmeter skins might require a manual method to install the skins. In this method, you need to unzip the archive file of Skin to the Rainmeter Skins folder. The archive file of the skin may come with a readme.txt file will detailed instructions. If it not available, then look for a folder with a similar name as of the skin. You might find it in the folder named as Skins. You need to copy and paste the same folder to the Rainmeter Skins folder at the following location: In the above location, you need to replace YourName with the admin name. Once done, you need to make right-click on the Rainmeter icon available in the Windows 10 notification tray and select the “Refresh All” option from the list. Now you will able to load the new theme from the Rainmeter manager.
5. Customize Rainmeter Skins in Windows 10
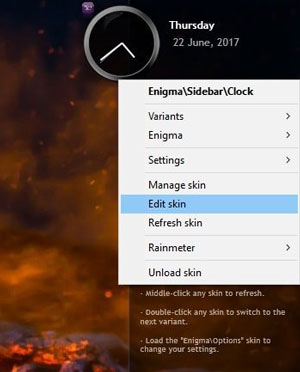
In case, you want to do some customization in the Rainmeter skins which you have installed; then you can also do that. It’s not much difficult, you just need to make right-click on any of the skin and select “Edit skin” option, and this will open the configuration files of the skins with variable definitions. Almost all the skins come with comments in the configuration files, so it is easier to find out what handles what in the file.
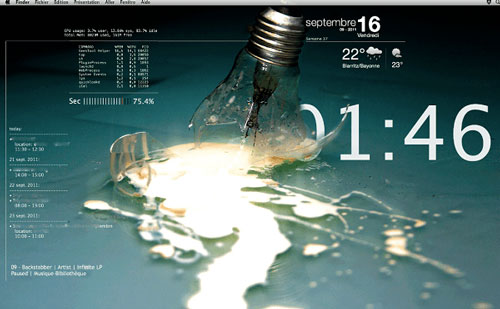
6. Rainmeter Alternatives for Mac
Unfortunately, Rainmeter is not available for Mac OS. Mac users can try Geektool, a popular alternative for Mac OS. Using this, you can use essential functions like you can display information on the desktop, add basic widget and related stuff. This tool is dedicated to users who know how to code. So this is how you can install Rainmeter skins in Windows 10 and later manage and customize to make your desktop look awesome. Why don’t you give a try to this guide and let me know if you need any help? Also, don’t forget to tell What is your favorite Rainmeter skins? Did you find the Rainmeter tool useful for desktop customization? Did you find any best Rainmeter alternative? Let me know in the comments.


![]()