If you’re one who has upgraded to Windows 11 from Windows 10 or upgraded to Windows 11 22H2 from an earlier version of Windows 11, then you might have noticed a quick spike in storage usage, right? Let me explain to you why this happens. Whenever users upgrade their device to older to the latest version, the setup process before upgrading creates a copy of the previous installation. If something wrong happens during the upgrade or the upgrade process fails the system will restore the last manually. Even though the Windows 11 upgrade process successfully completes the copy of the previous version still exists on the hard drive with the folder name ‘windows.old‘, which consumes around 20GBs of hard drive space. The overall purpose of making a copy of the previous version of Windows OS during an upgrade is to keep users on the safe side and if users so that users can restore the previous version manually if they have a compatibility issue or some features are not working properly.
How to Free Up Storage Space after Upgrading to Windows 11
If your device has a big hard disk let’s say 1TB or above, then you ignore this because. On the other hand, if the hard disk is low, then reclaiming 20GBs of space will make a lot of difference, right? The process to free up storage space after upgrading to Windows 11 is super easy. There are two ways to do that and let’s start with the first method:
How to free up space after Windows 11 using Settings
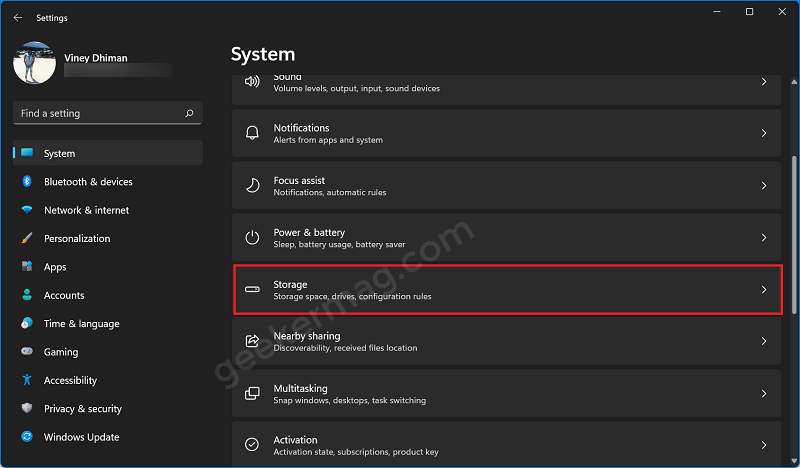
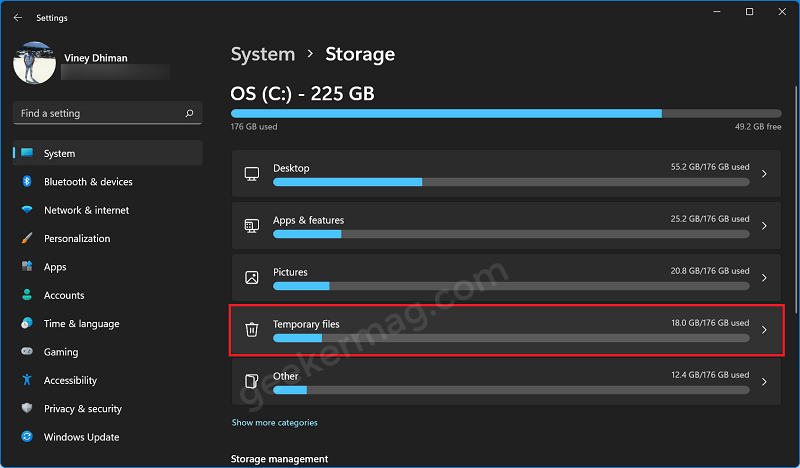
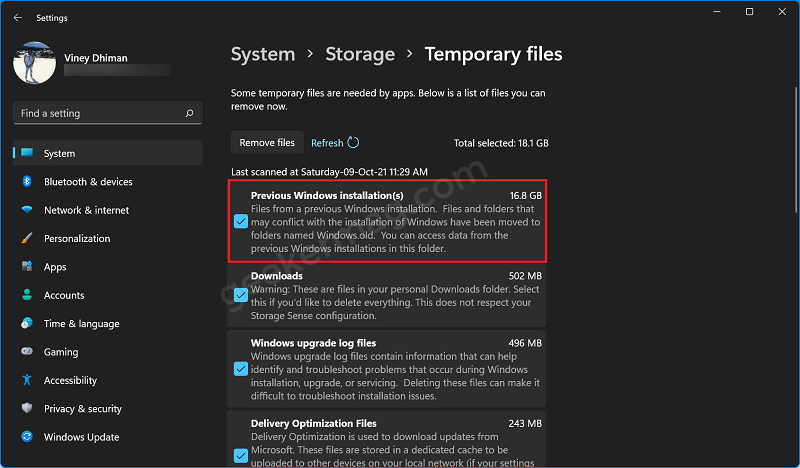
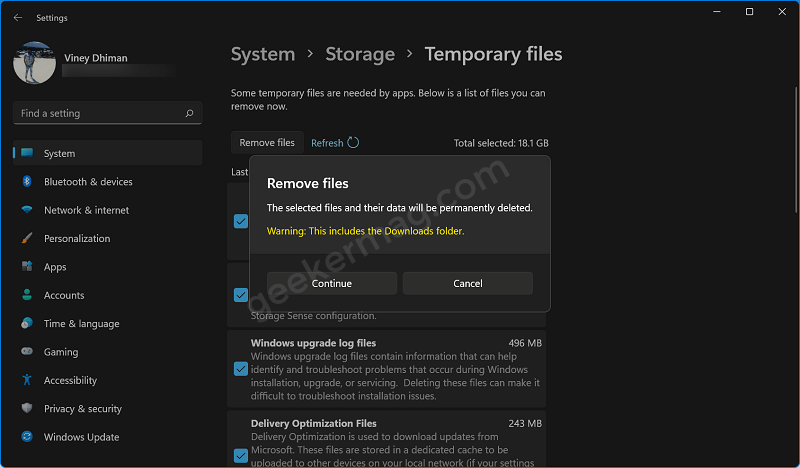
Launch Settings app in Windows 11. For that, press the WIN + I key combination. Select the System tab on the left and then on the right side, select Storage. On this screen, the system will start scanning all the files on your hard drives. Once the process completes, select the Temporary files option. Next, you need to check the box for “Previous Windows Installation” and then click the Remove files button. Apart from that, if you want to you can also check the box for Downloads (if not important files exist) accompanied by Windows upgrade logs files. The dialog box will appear asking for confirmation, click on the Continue button.
How to free up space after Windows 11 using Disk Cleanup
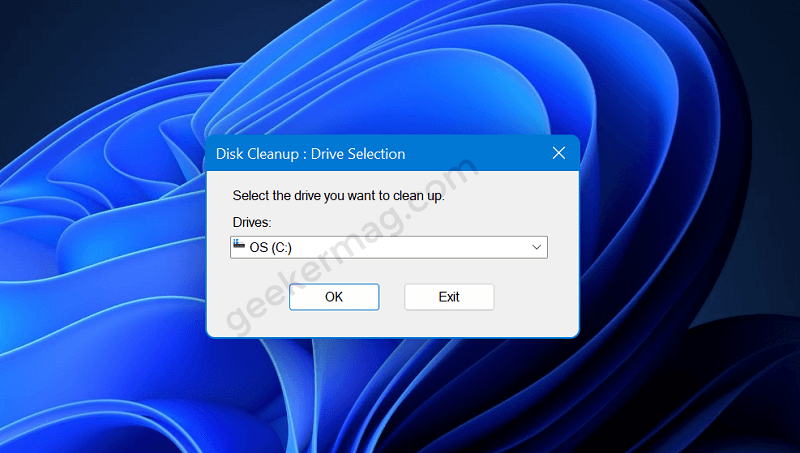
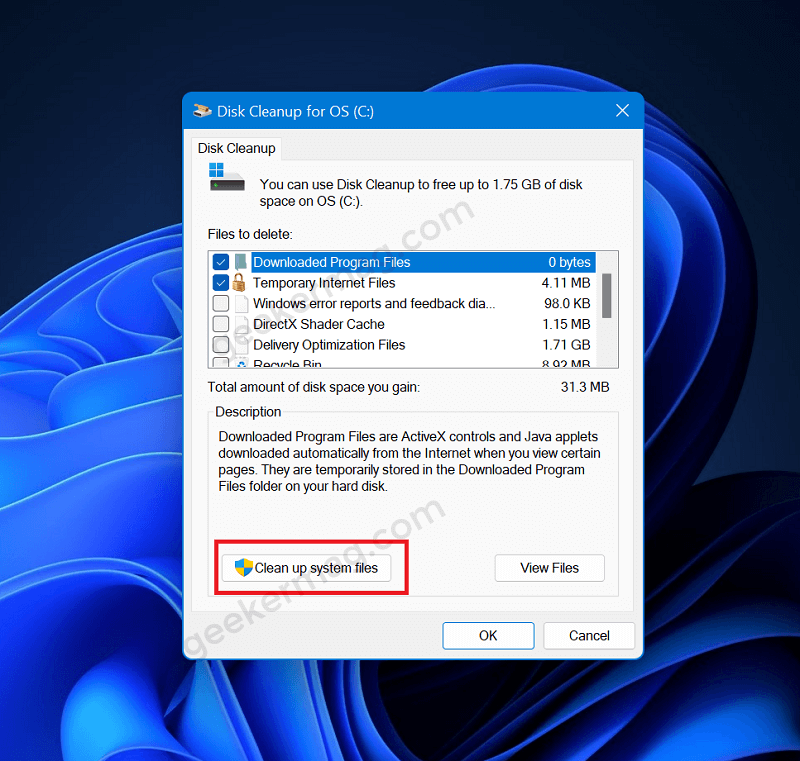
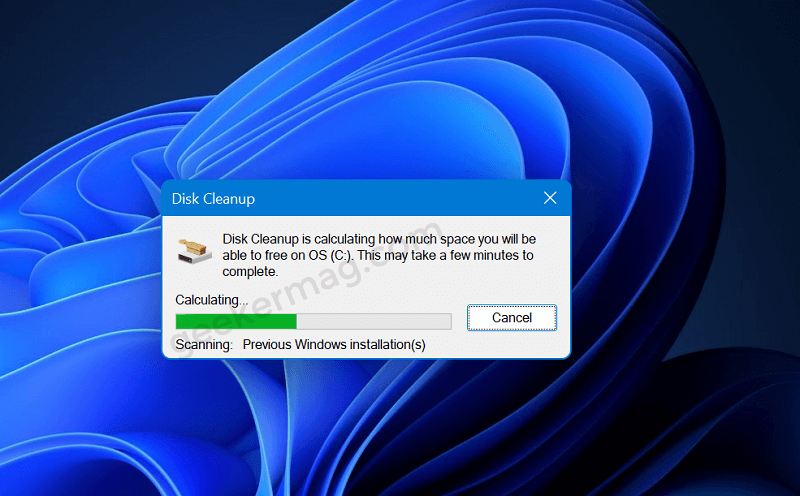
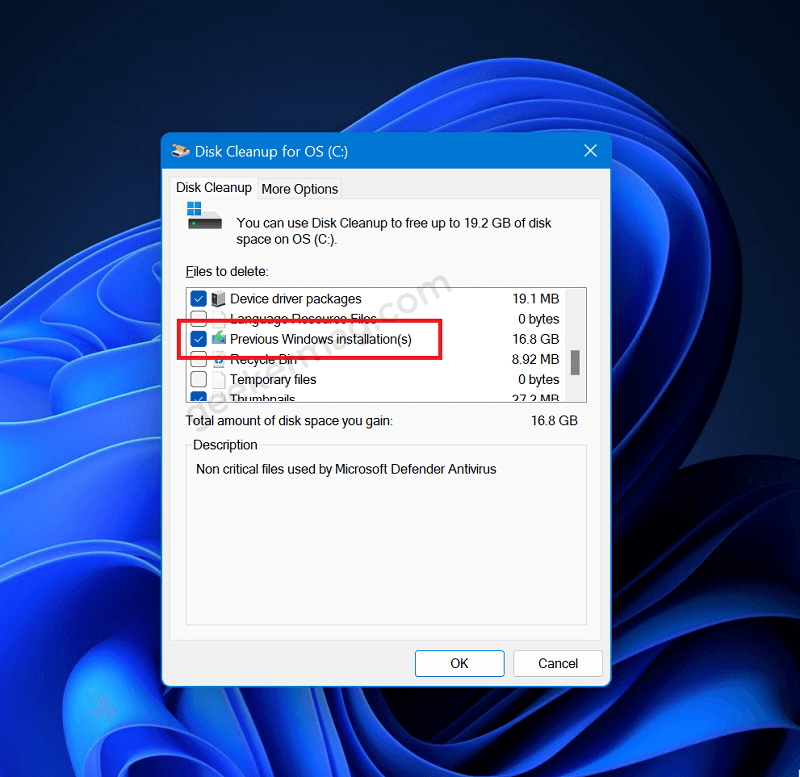
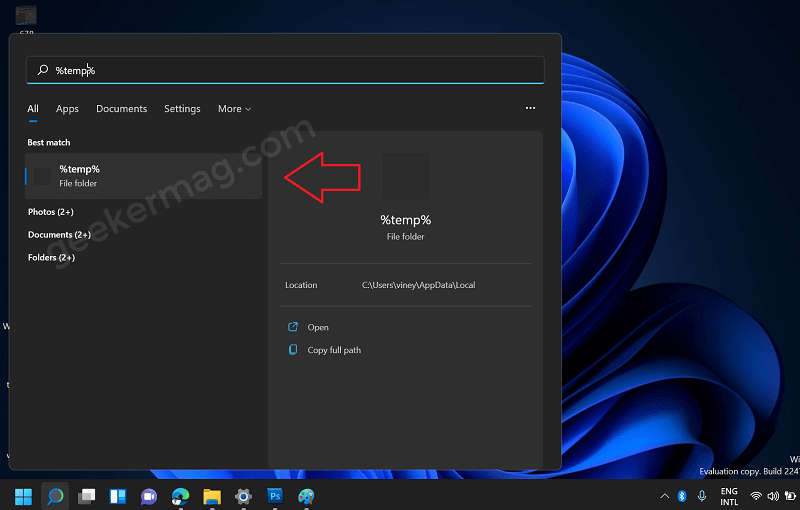
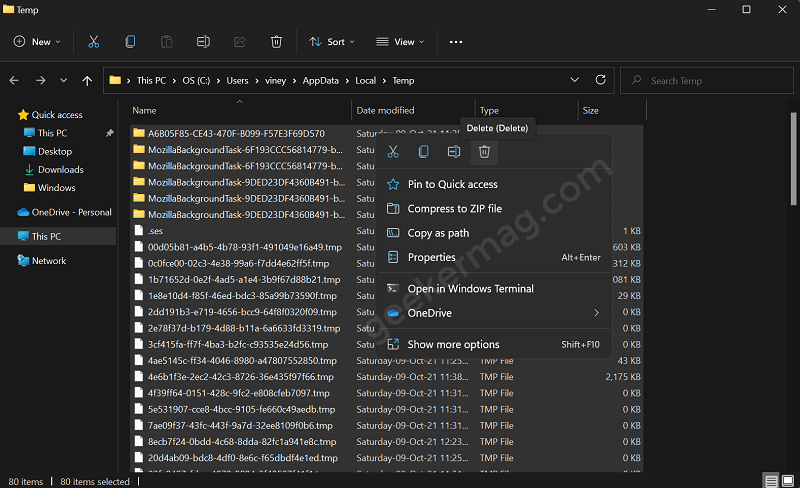
Apart from that, there’s a nifty Disk Cleanup utility available using which users can also reclaim space on Windows 11 by deleting Previous Windows Installation files. Here’s how you can do that: Click on the Search icon available on the taskbar and type Disk Cleanup. When the same app appears in search results, click to open it. Drive selection dialog box will appear. Here, you need to make sure to select Windows Installation drive. Most of the time it’s C drive, select it and click OK. Disk Cleanup for OS window will appear, click on the Clean up system files button. The disk cleanup tool will start scanning files and folders on C Drive. Wait for few seconds. And later, the ‘Disk Cleanup for OS’ window will appear again. Under the Files to delete a section, find and check the box for the “Previous Windows installation” option and click OK. Wait for a few seconds and let the tool do its work. Once done, we recommended you perform this extra step too. On Taskbar, click on the Search icon and type %temp%, when the same folder appears in the search results, click to open it. Here, select all the files and folders and delete them. If you’re unable to delete a few items, it’s ok. As simple as that!