1. Disable SysMain Service
For the uninitiated, SysMain is a service from Windows 10 that’s also present in the Windows 11 OS. It’s meant to pre-load the app into the system memory before the launch to make them open quickly. Since it’s engaged all the time, it’s one of the main reasons behind the 100% disk usage issue in Windows 11. Here’s how you can disable it.
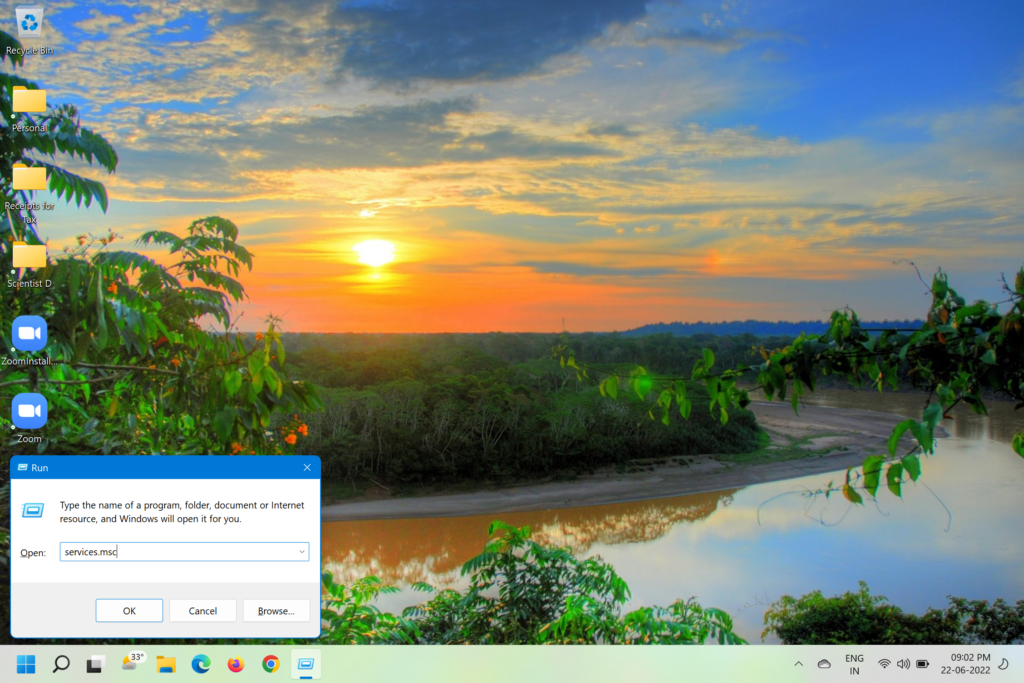
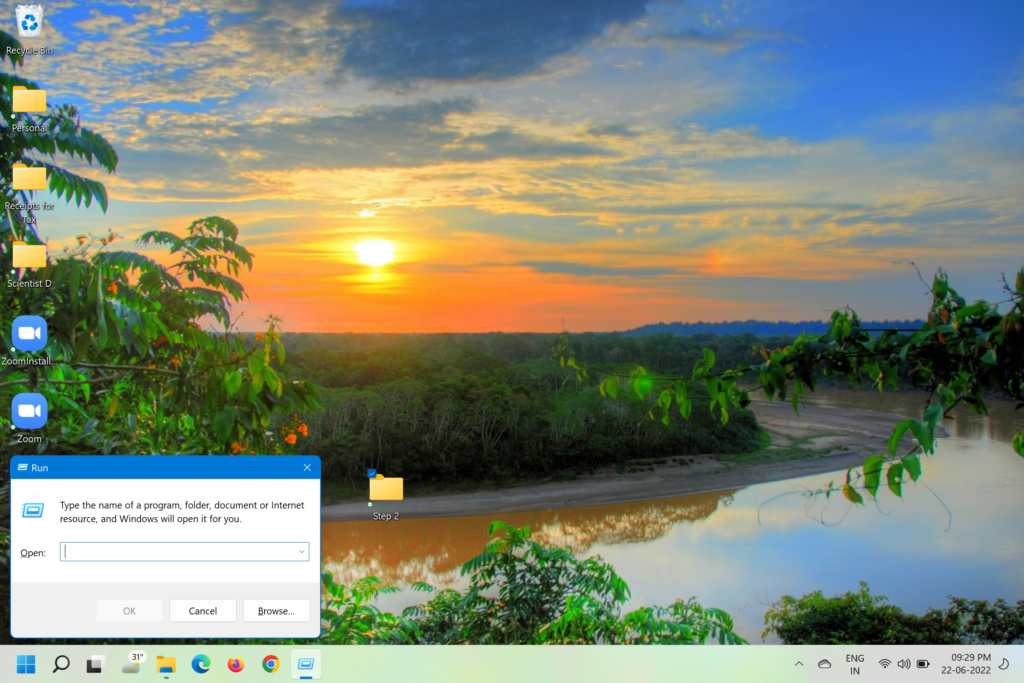
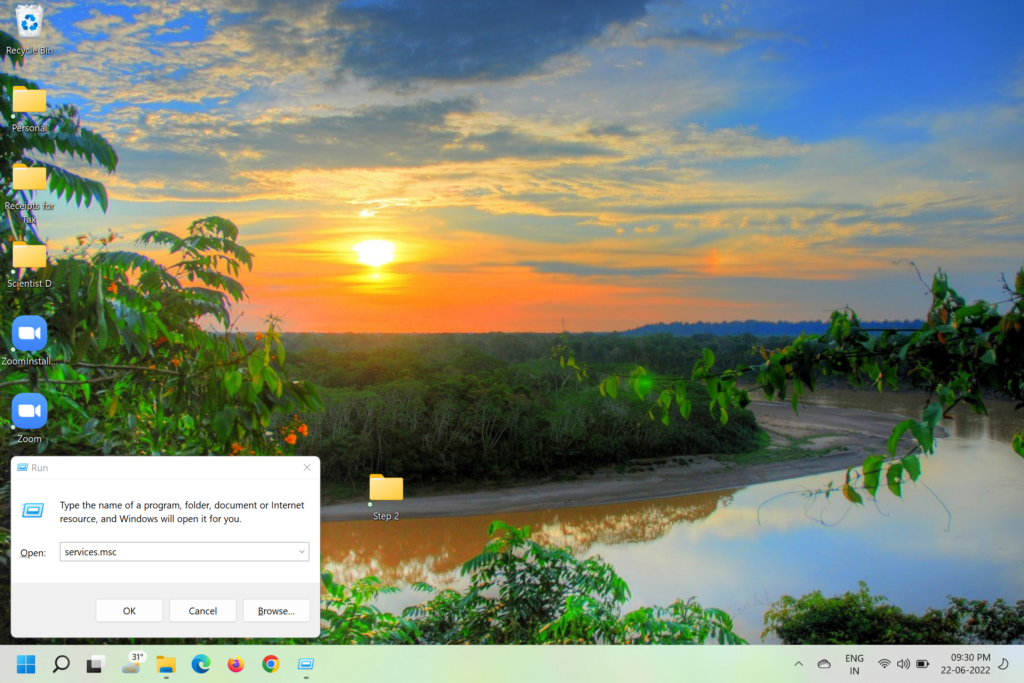
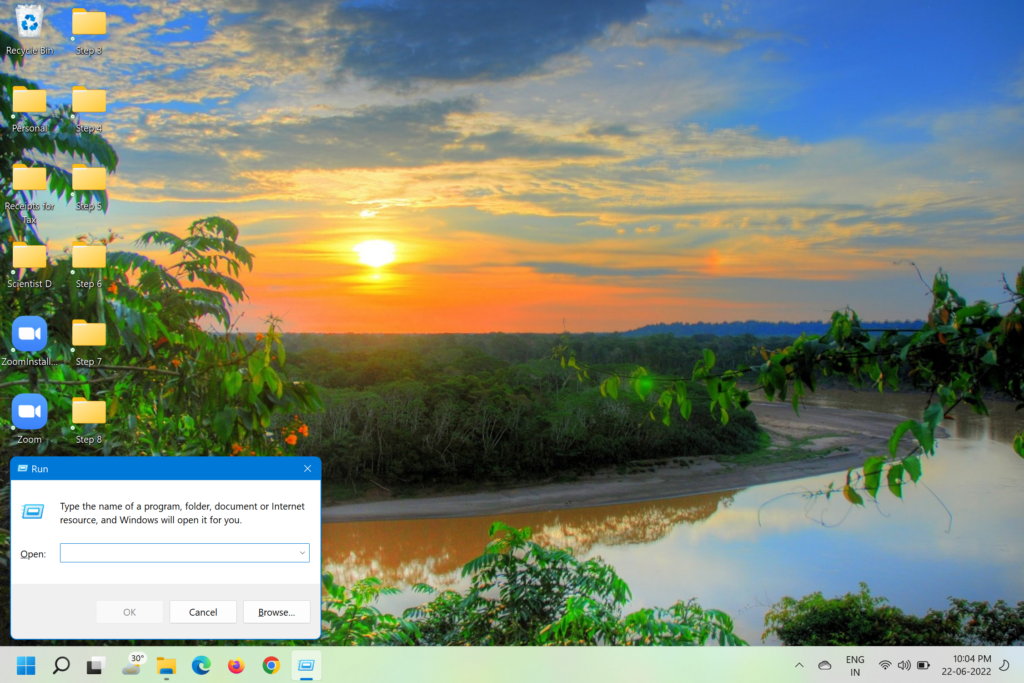
- Press Win + R to open the Run dialog box.
- Type services.msc and hit Enter.
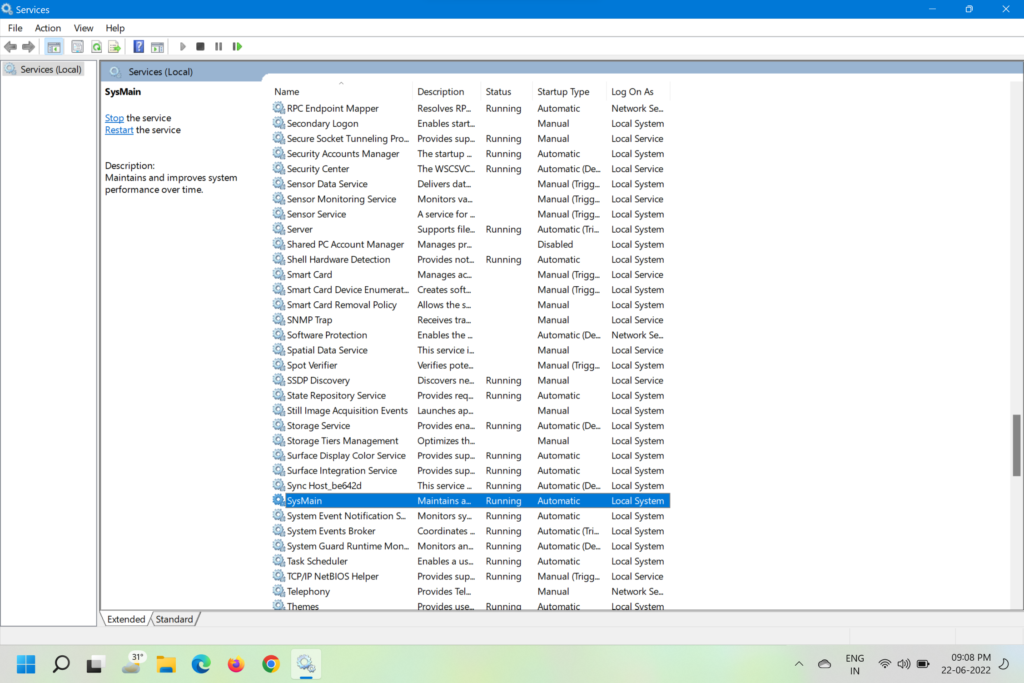
- In the next window, scroll to SysMain or SuperFetch and double-click on it.
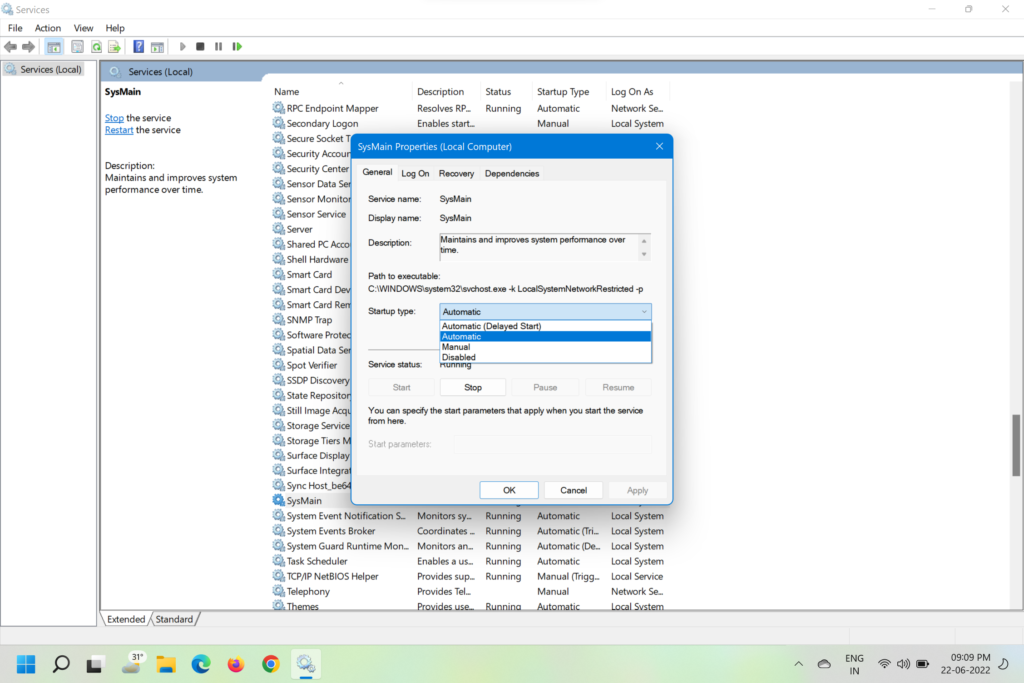
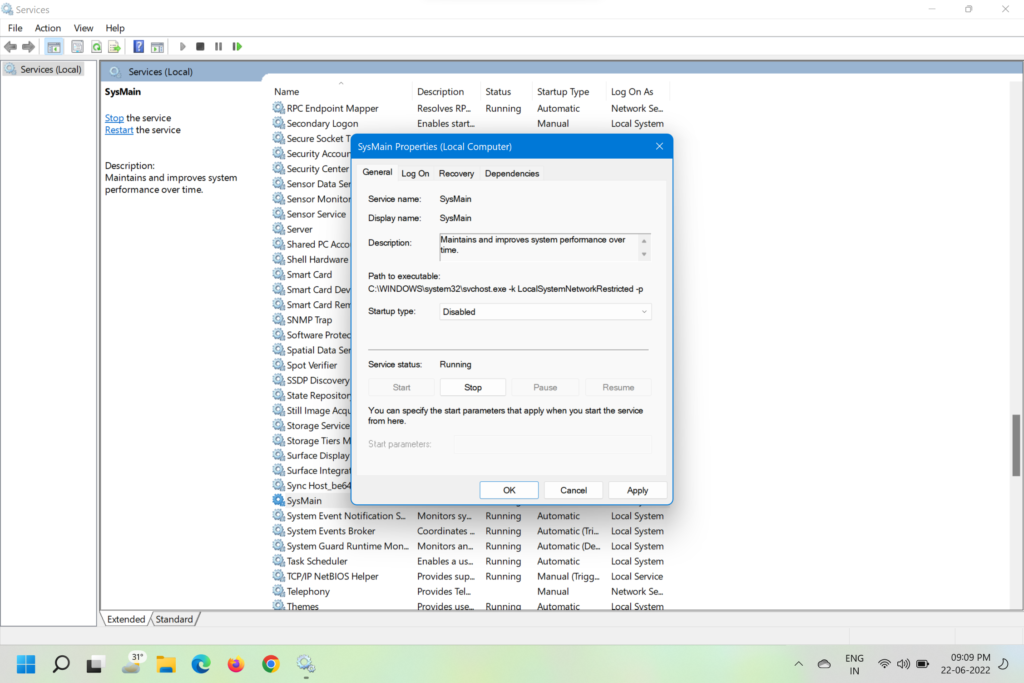
- Now, change the Startup type to Disabled and click on Stop to halt the service.
- Click on Apply and confirm the action.
- Now, restart the PC and you should see a 10-15% drop in disk usage.
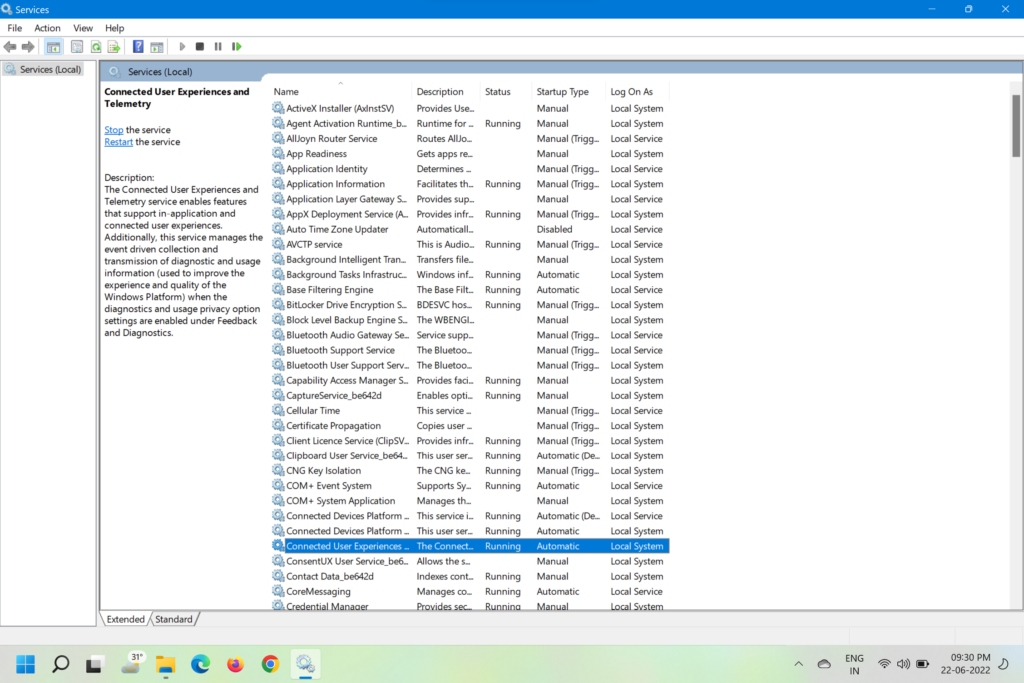
2. Disable Connected User Experiences and Telemetry
This is yet another Microsoft service that causes high disk usage in Windows 11. The service is basically meant to track the diagnostic data and send it to Microsoft’s servers. You can disable it to fix 100% disk usage on Windows 11 and here’s how to do it.
- Press Win + R to open the Run dialog box.
- Type services.msc and hit Enter.
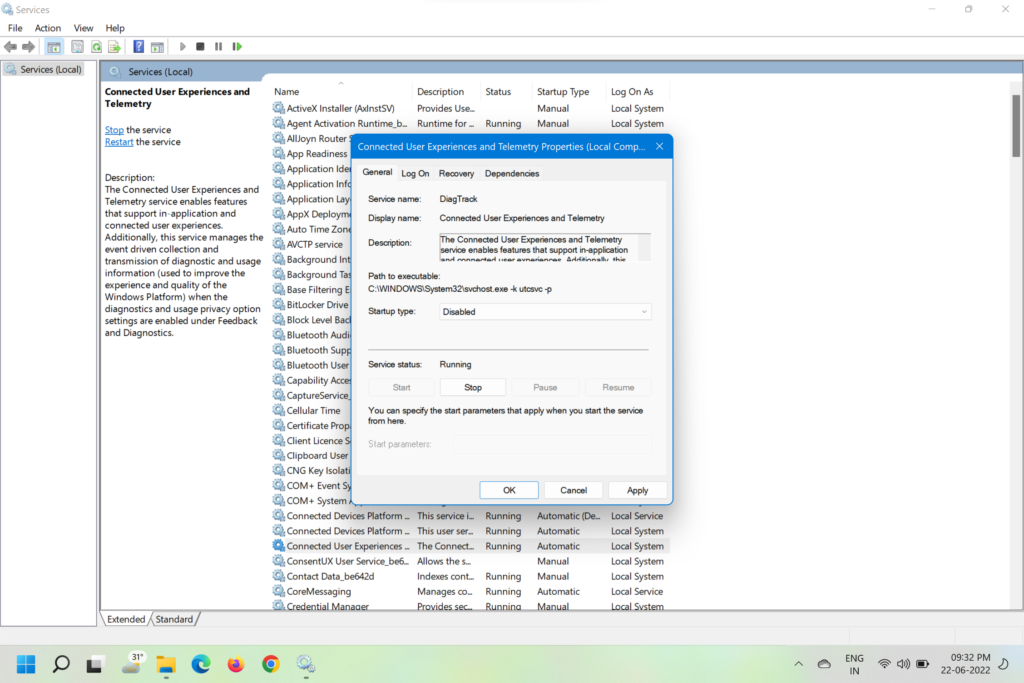
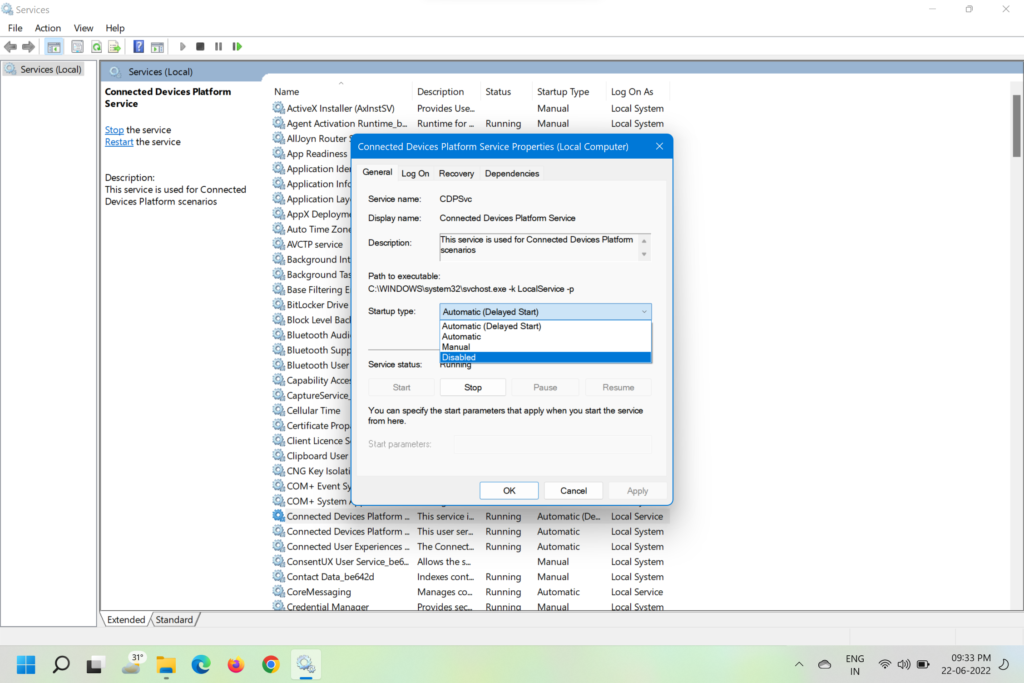
- In the next window, scroll to Connected User Experiences and Telemetry and double-click on it.
- Now, change the Startup type to Disabled and click on Stop to halt the service.
- Click on Apply and confirm the action.
- Repeat the above steps for Connected Devices Platform Service as well.
- Now, restart the PC.
3. Disable Background Apps
Another major cause of 100% disk usage in Windows 11 is the background apps. While it’s meant to make your computer snappy, the opposite of it is actually true. You need to disable the Background Apps to make your PC responsive. Here’s how you can do it.
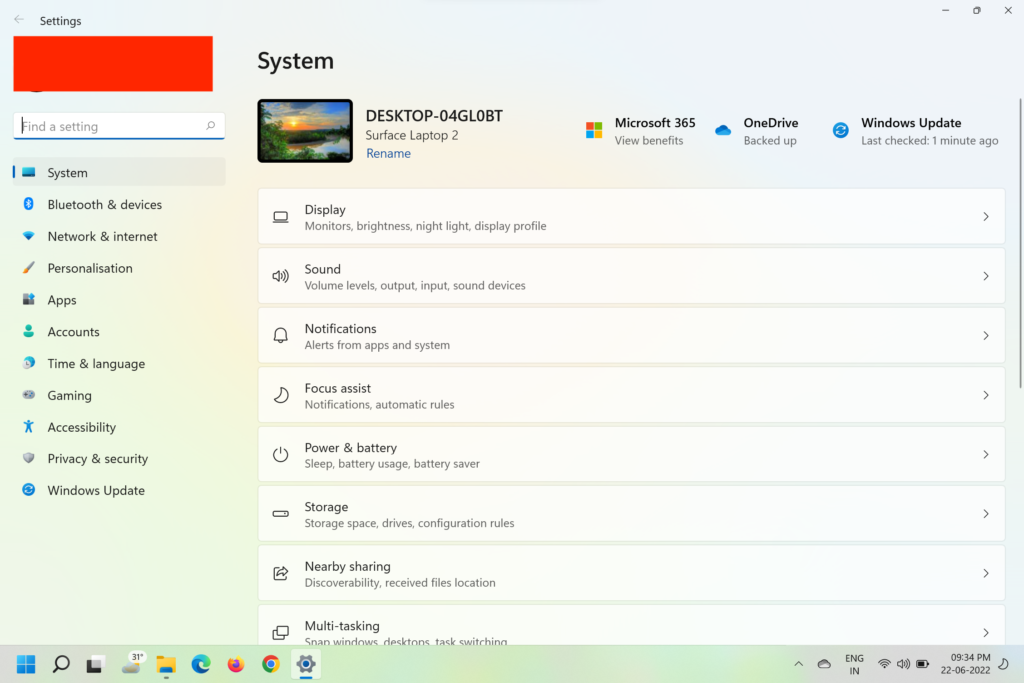
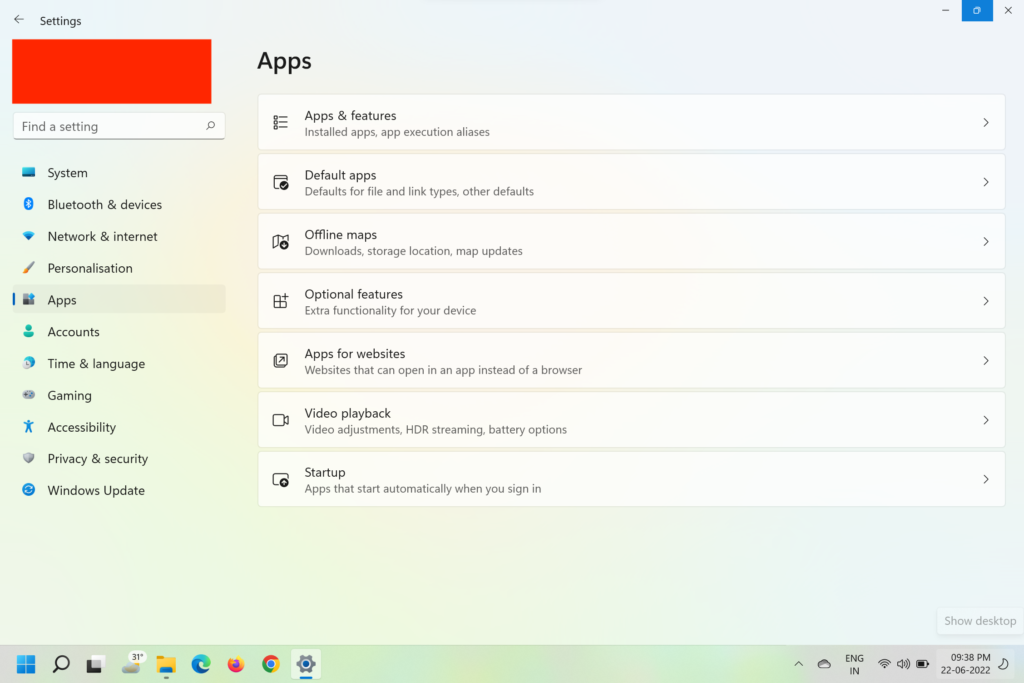
- Press Win + I to open Windows Settings.
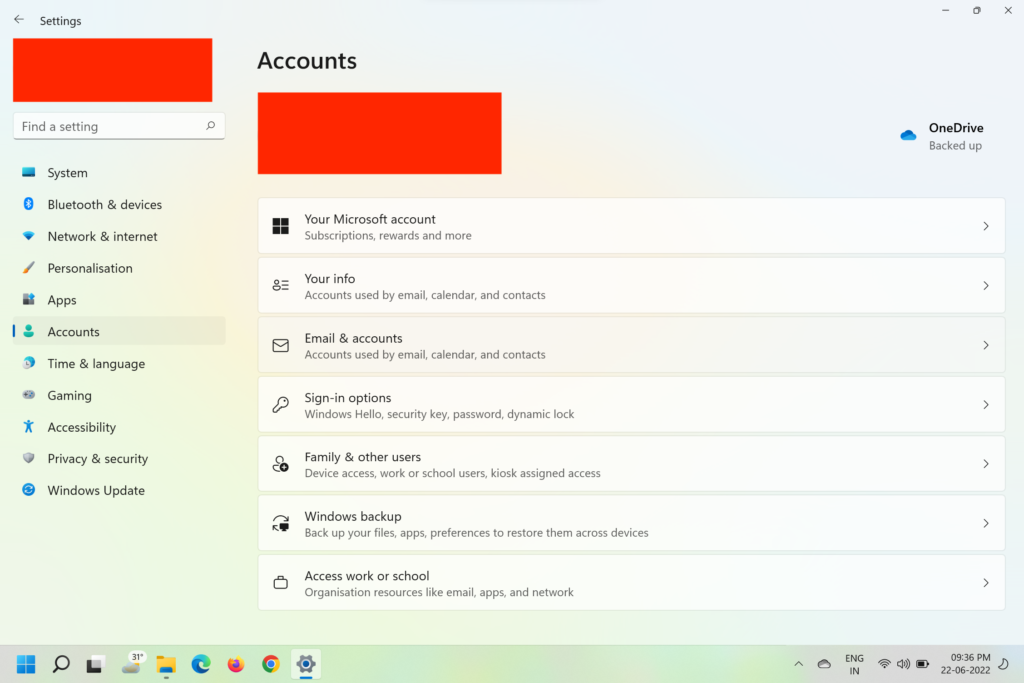
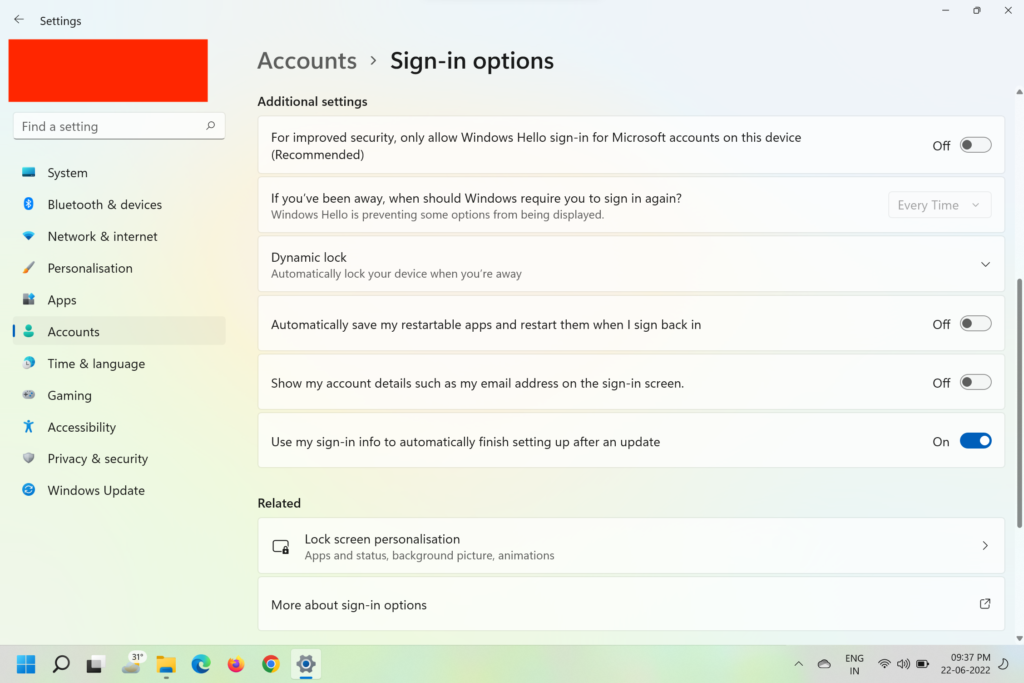
- Click on Accounts in the sidebar and select Sign-in options.
- Disable the Automatically save my restartable apps and restart them when I sign back in toggle.
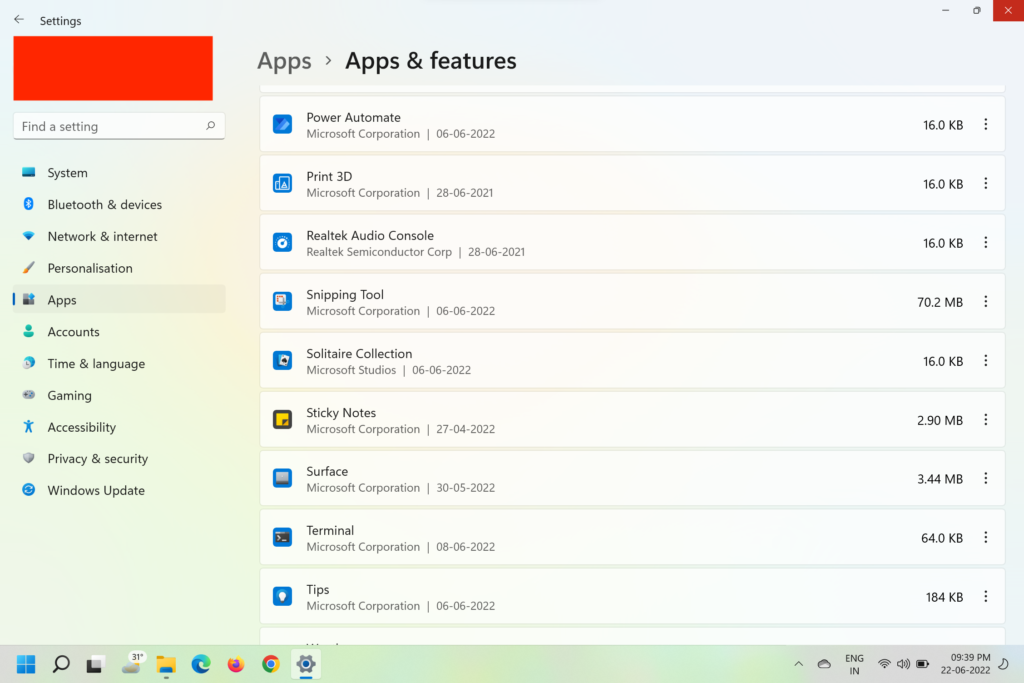
- Now, click on the Apps option on the sidebar and select Apps and Features.
- You’ll see the list of apps installed on your PC.
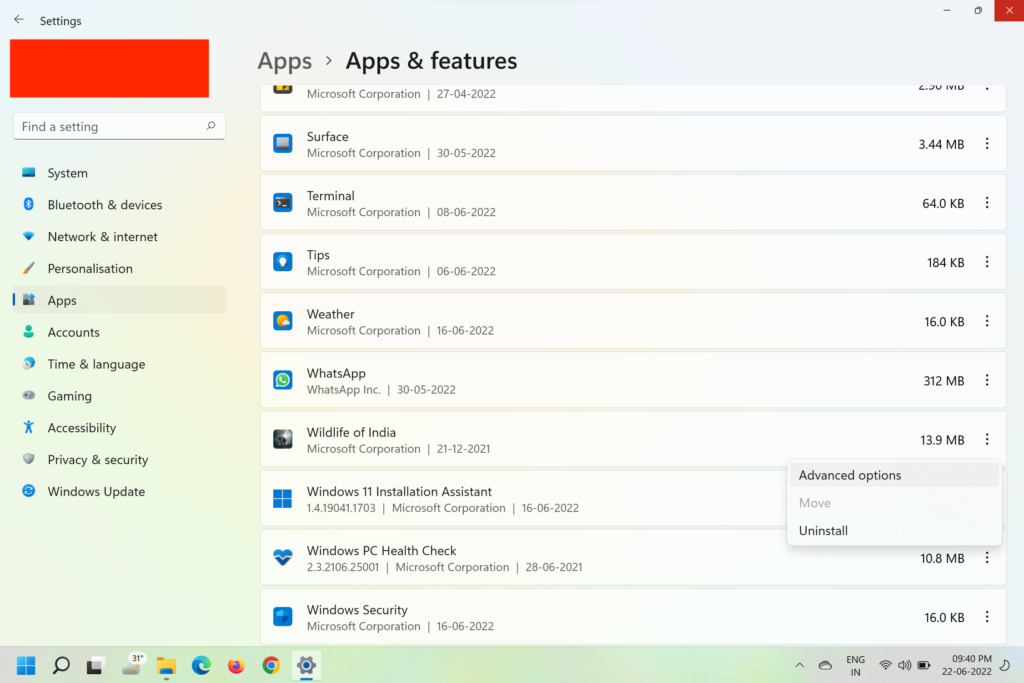
- Locate the apps you want to stop from running in the background and click on the three-dot icon next to their name.
- Select Advanced options from the drop-down menu.
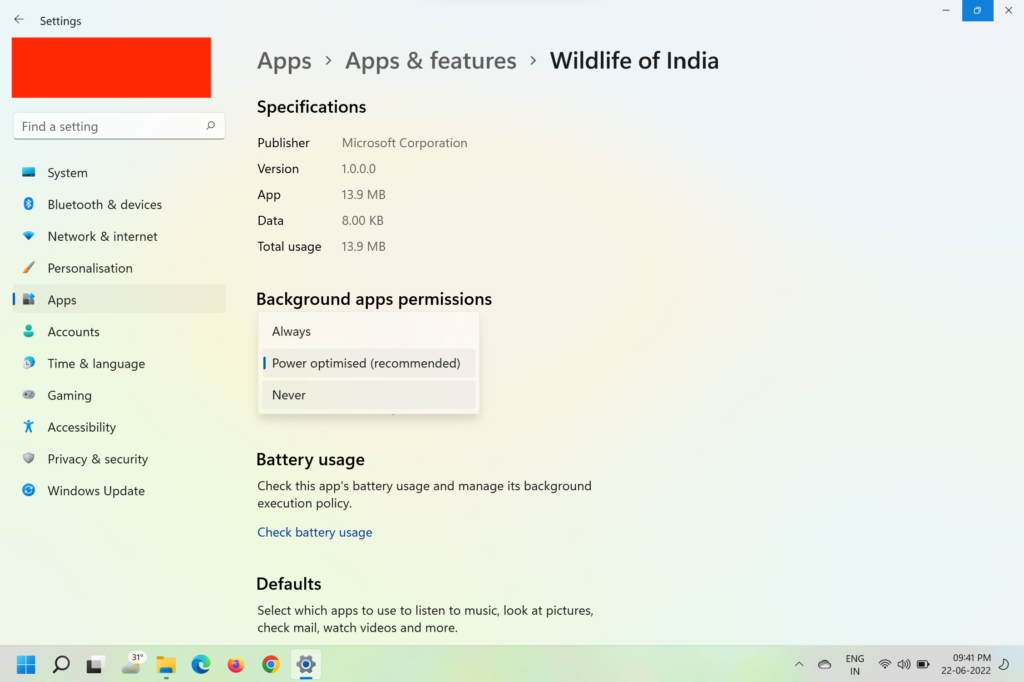
- Scroll down to Background apps permissions and choose Never from the drop-down menu.
- Repeat this for every app that you don’t want to run in the background.
- Restart your computer.
4. Run Disk Check
Sometimes 100% disk usage in Windows 11 is caused by incomplete operations that continue to hog the memory as they couldn’t finish executing because of bad sectors or logical errors. You can follow the steps below to run Disk Check and resolve the issue
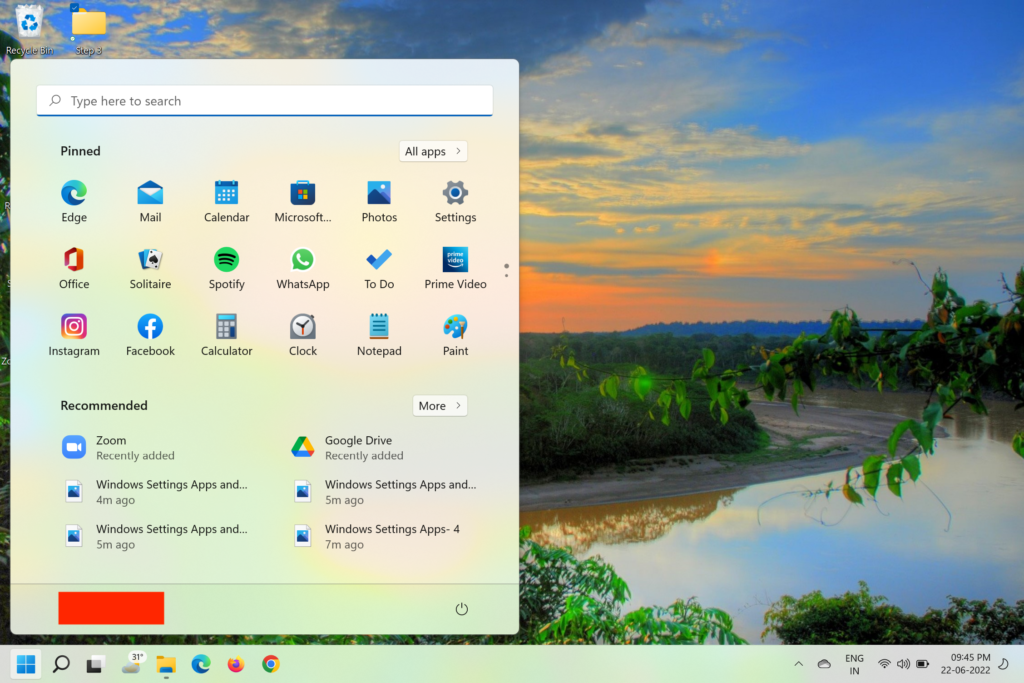
- Click on the Windows button to bring up the Start menu.
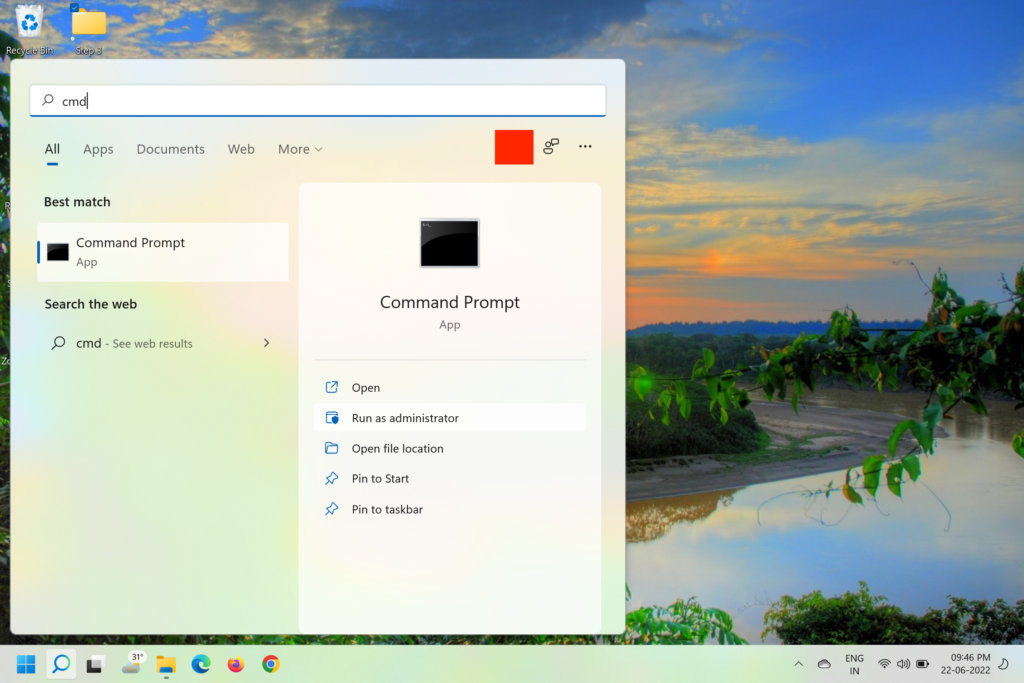
- Type cmd in the search bar and hit Enter.
- Click on Run as administrator on the right pane.
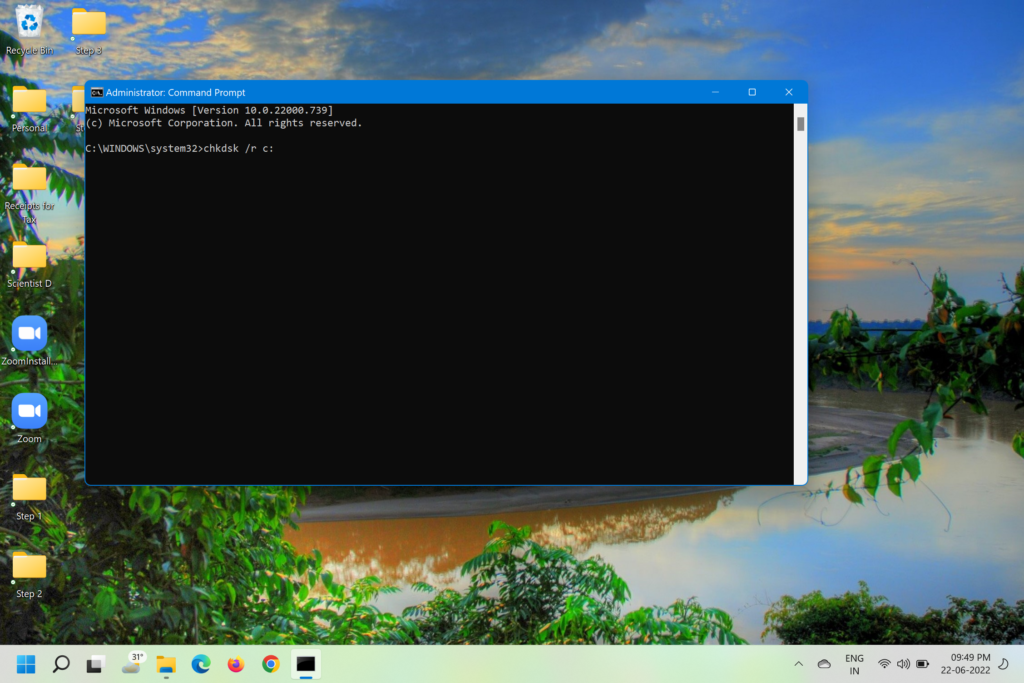
- In the command prompt type chkdsk /r c: and hit enter.
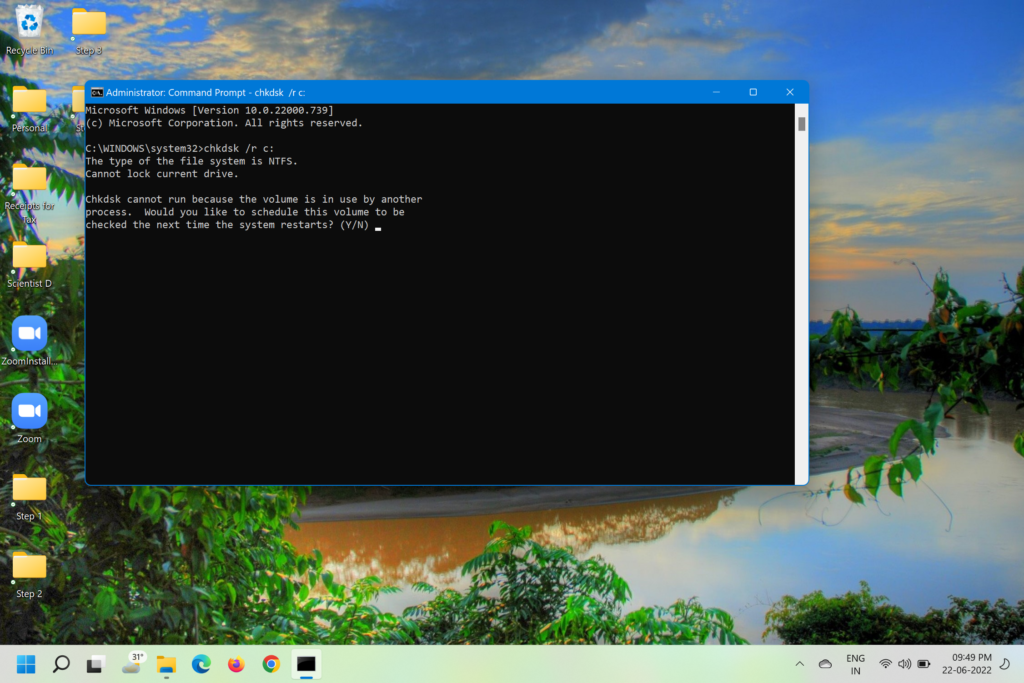
- Type Y and hit Enter to confirm the disc check next time your PC restarts.
- Now, restart your PC, and Windows 11 will check for and fix all bad sectors and logical errors.
5. Update Storage Drivers
At times the disk is stuck in a memory loop due to faulty storage drivers, which causes 100% disk usage and slows down Windows 11. Here’s how you can update the storage drivers to resolve this issue.
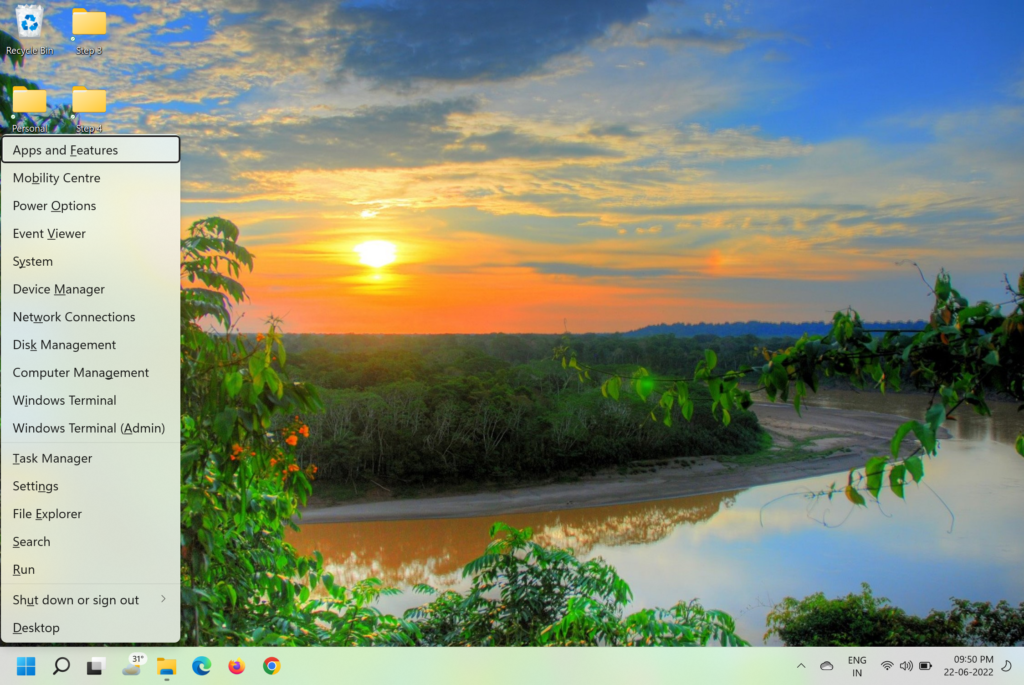
- Open the Quick Links menu by pressing Win + X on the keyboard.
- Select Device Manager from the menu.
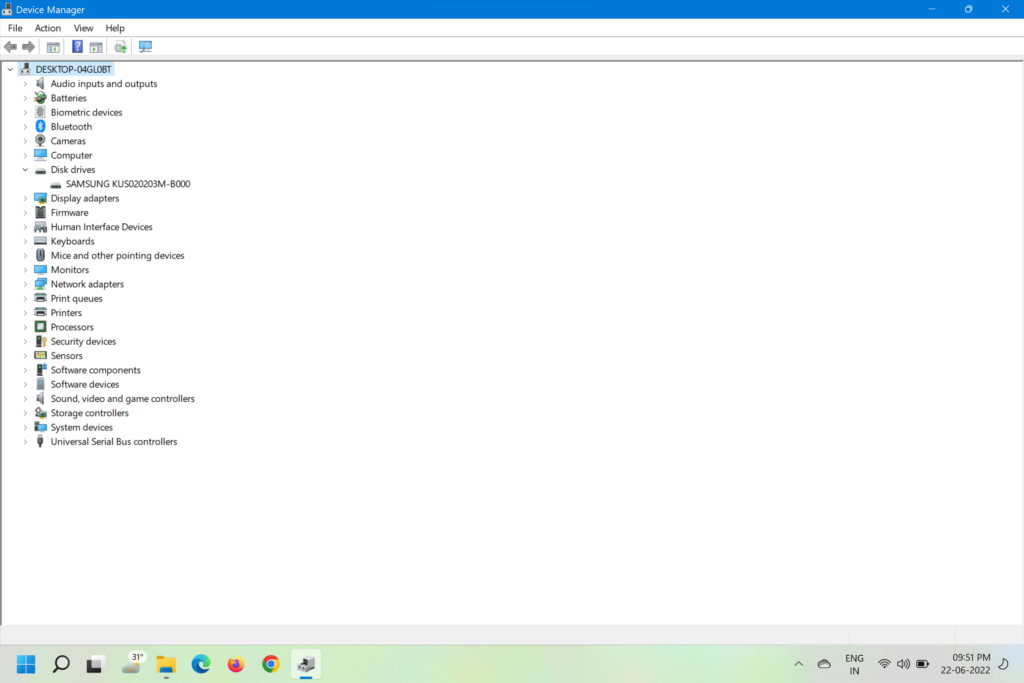
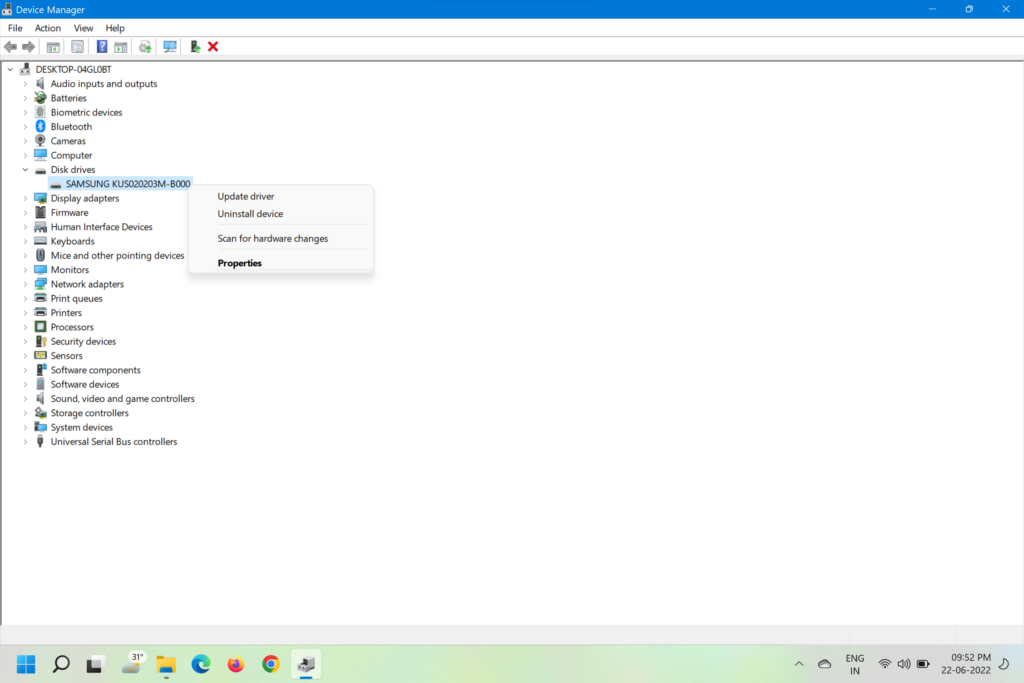
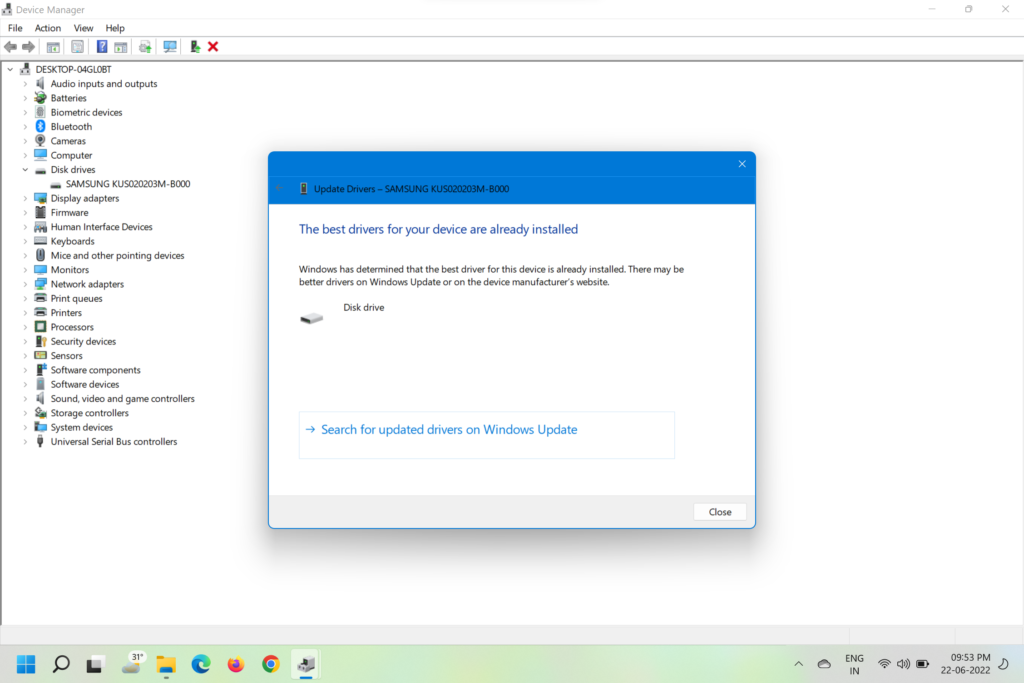
- In the next window, expand the Disk Drives option and right-click on the relevant disk.
- From the menu that pops up, select Update driver.
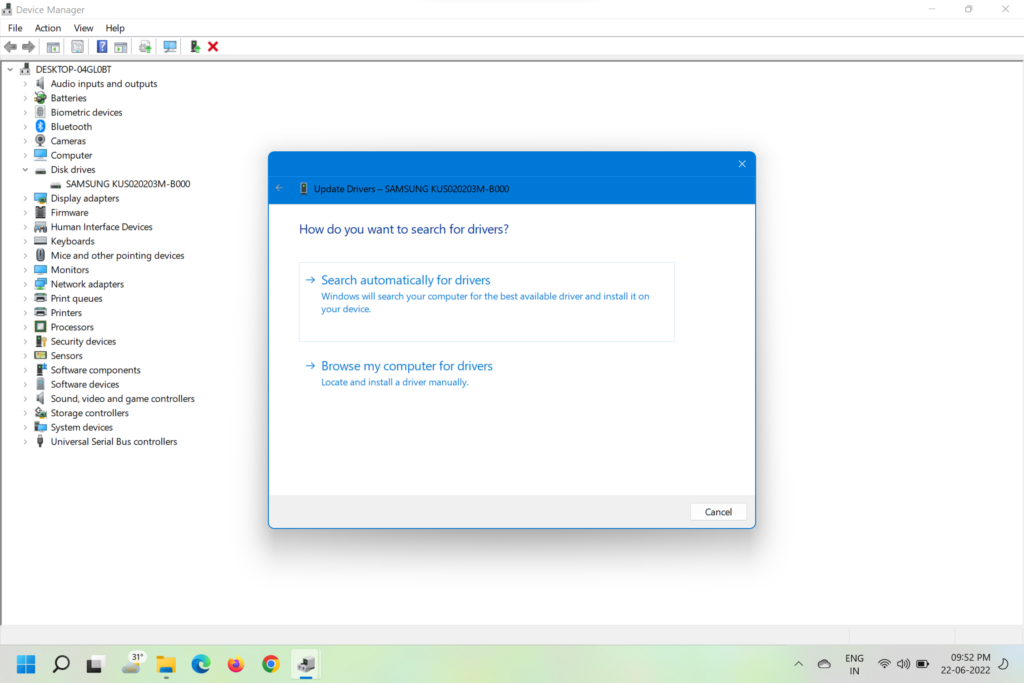
- In the next window, click on Search automatically for drivers.
- Windows 11 will look for any new update available, install it, and ask for a restart. In case Device Manager doesn’t show any update available, use a third-party app like IObit Driver Booster to update all drivers.
6. Disable Windows Search
This method affects files and folder search on the PC and hence is not much recommended. But if you are sure that Windows Search is causing a 100% disk usage issue on your PC, disabling it is the only option. Here’s how you can do it.
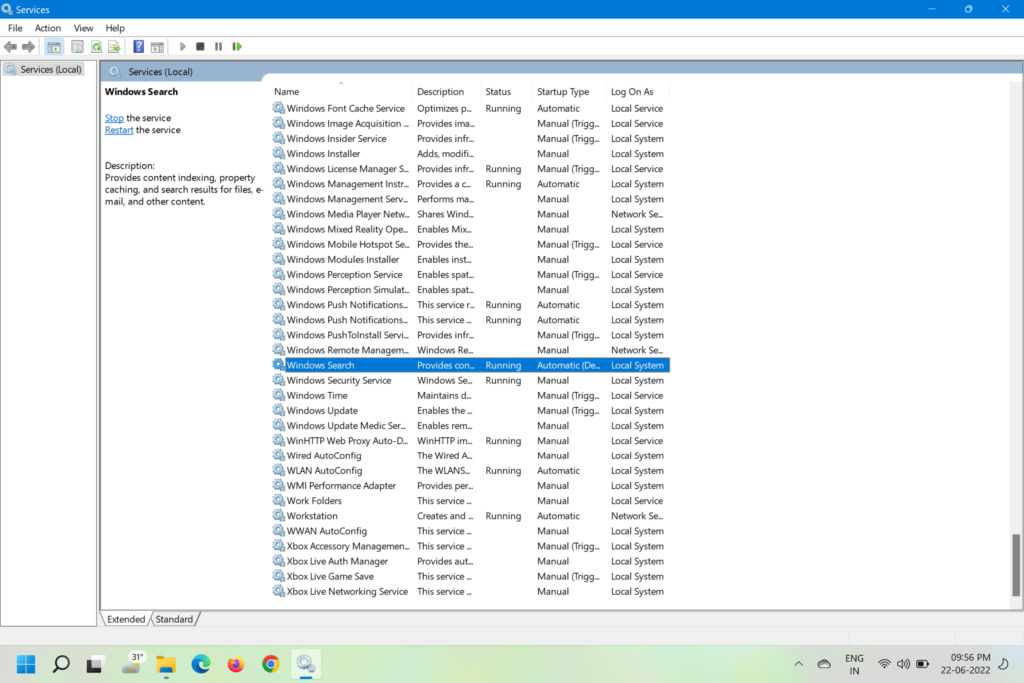
- Press Win + R to open the Run dialog box.
- Type services.msc and hit Enter.
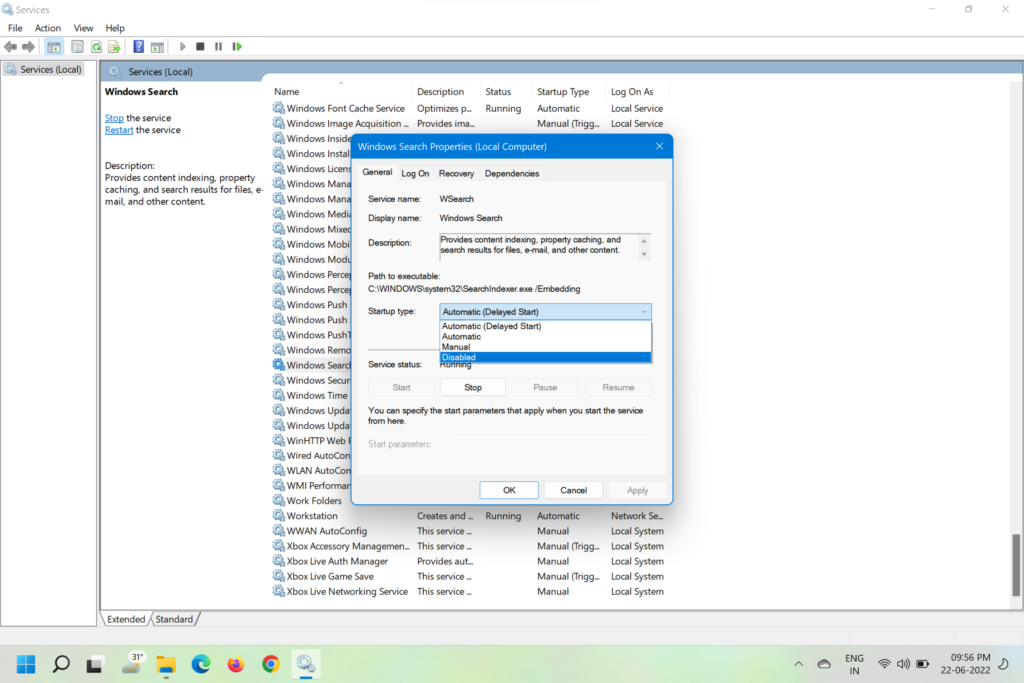
- In the next window, scroll to Windows Search and double-click on it.
- Now, change the Startup type to Disabled and click on Stop to halt the service.
- Click on Apply and confirm the action.
- Now restart your PC to enjoy low disk usage
7. Disable Scheduled Defragmentation
Windows 11 has an integrated scheduled hard disk defragmentation feature, which is intended to improve the performance. However, it also causes the 100% disk usage error and thus needs to be disabled. Here are the steps to disable Scheduled Defragmentation in Windows 11.
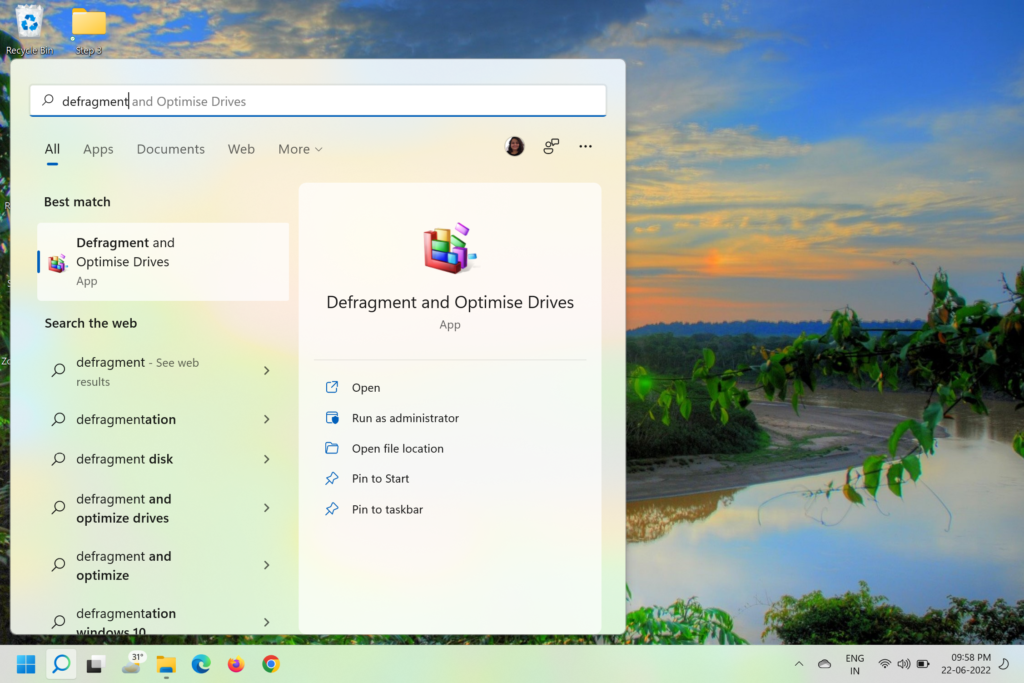
- Click on the Windows button to bring up the Start menu.
- Type Defragment in the search bar and hit Enter.
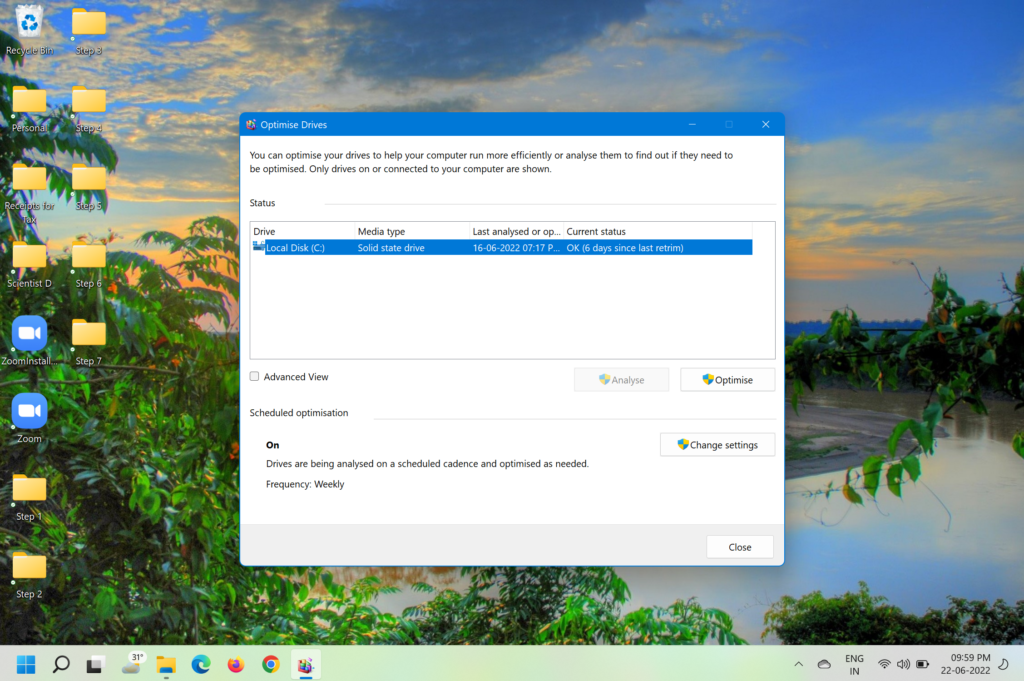
- Click on the Defragment and Optimize Drives and open it.
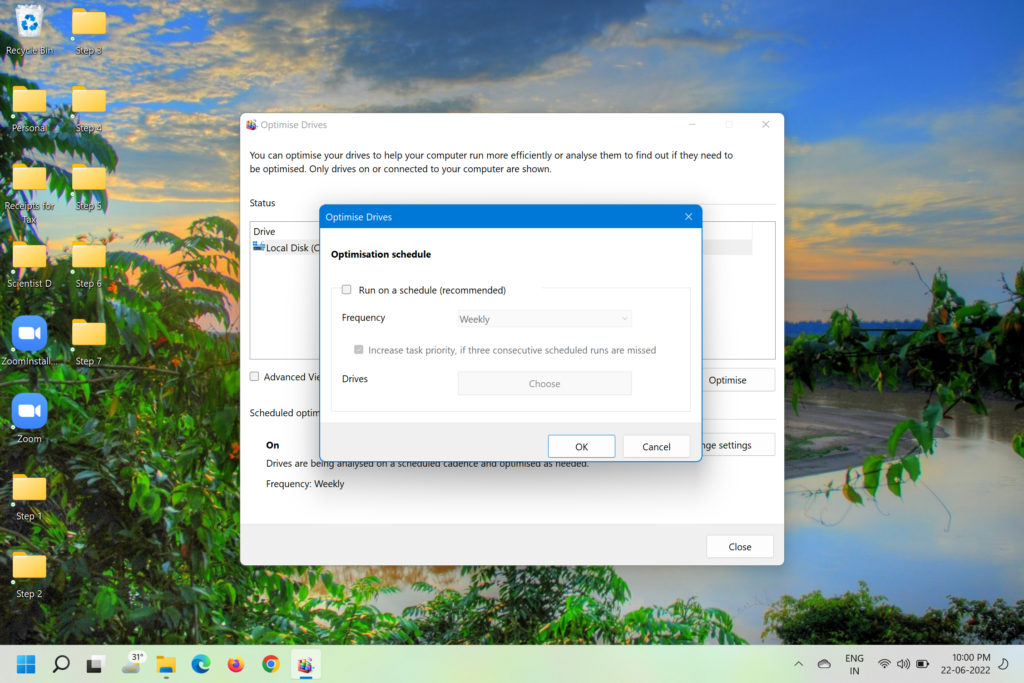
- In the next window, click on the Change Settings button.
- Now, uncheck the Run on a schedule (recommended) checkbox to disable the feature and then click on OK.
8. Disable MSI Mode
Some users faced the 100% disk usage issue because of the Advanced Host Controller Interface PCI-Express (AHCI PCIe) controllers with firmware incompatibility. Microsoft states that for laptop and PCs using StorAHCI.sys driver, disabling Message Signaled Interrupt (MSI) mode can reduce the disk usage drastically. Here’s how to do it.
- Open the Quick Links menu by pressing Win + X on keyboard.
- Select Device Manager from the menu.
- In the next window, expand IDE ATA/ATAPI controllers and right-click on the option that drops down.
- Select Properties from the drop-down menu.
- In the window that pops up, select the Driver tab.
- Now, click on the Driver Details.
- Move ahead only if you see StorAHCI.sys under Driver Files.
- Go to the Details tab in the same window and change the Property to Device instance path.
- Right-click on the character string under Value and copy it in Notepad.
- Close the Device Manager and open the Start Menu. 11. Search for Registry on top and click on Registry Editor from search results.
- Now Go to Computer\HKEY_LOCAL_MACHINE\System\CurrentControlSet\Enum\PCI\ in the Registry Editor.
- Find the entry that matches the string you copied in Notepad.
- Keep expanding the entry till you reach Device Parameters > Interrupt Management > MessageSignaledInterruptProperties.
- Look for MSISupported on the right pane and double click to open it
- Now, change the Value Data to 0.
- Close the Registry Editor and restart your PC
9. Reset Virtual Memory
In case of low RAM, your PC sometimes swaps to the hard disk memory to hold apps and files in memory. At times, this takes up major space and ends up causing the 100% disk usage issue. You can reset the virtual memory to avoid this. Here’s a step-by-step guide on how to reset virtual memory in Windows 11.
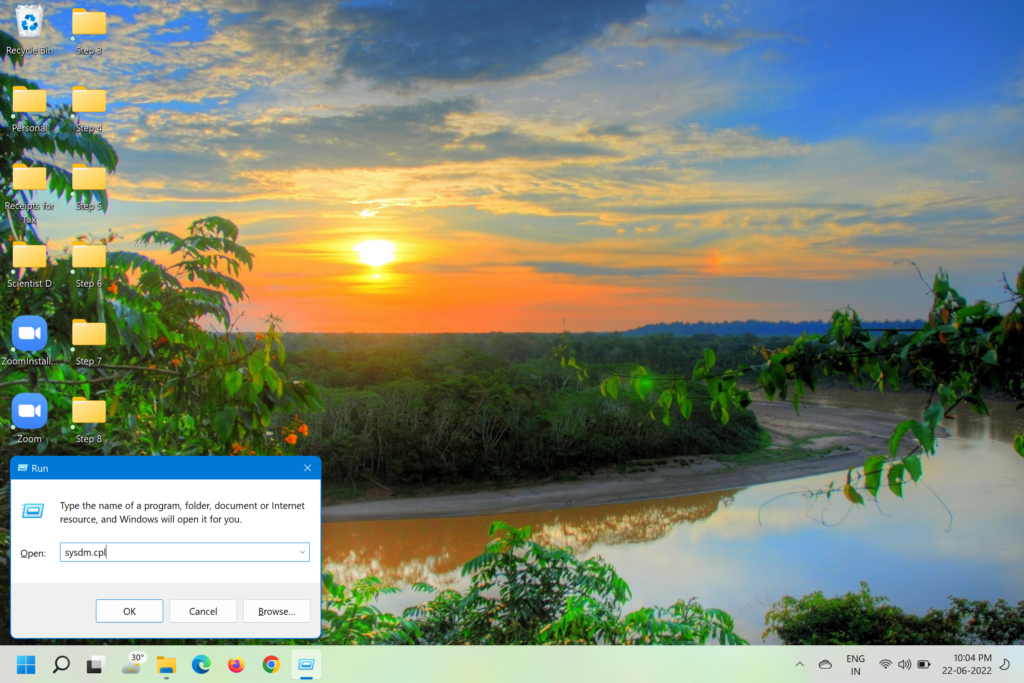
- Press Win + R to open the Run dialog box.
- Type sysdm.cpl and hit Enter.
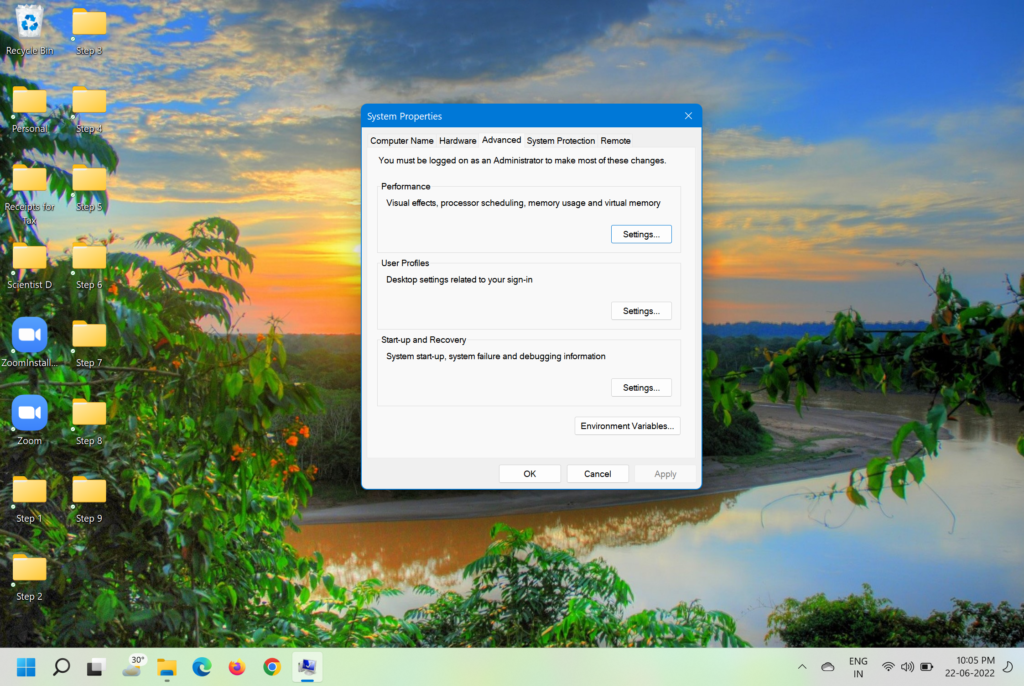
- When the System Properties window opens, move to the Advanced tab.
- Click on Settings under the Performance heading.
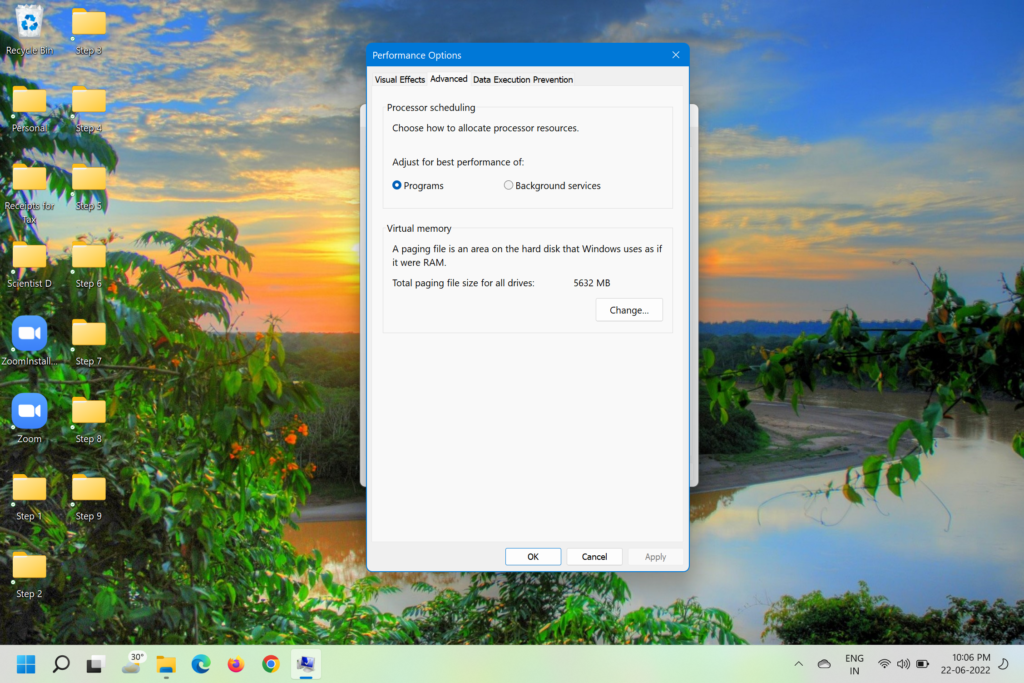
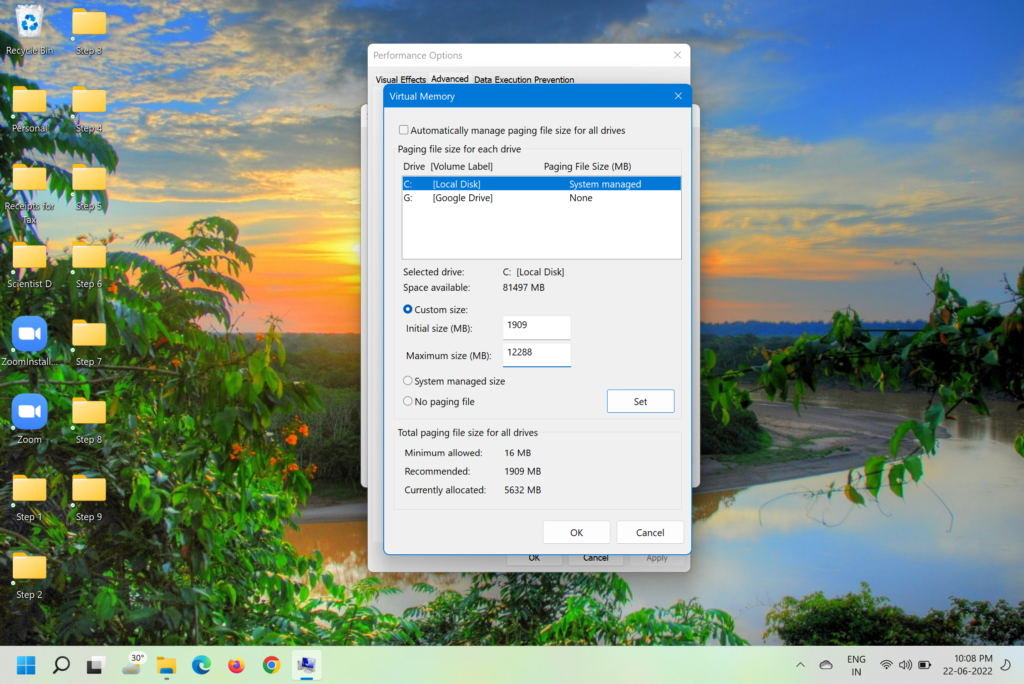
- Now, again move to the Advanced tab in the Performance Options window and click on Change under Virtual Memory.
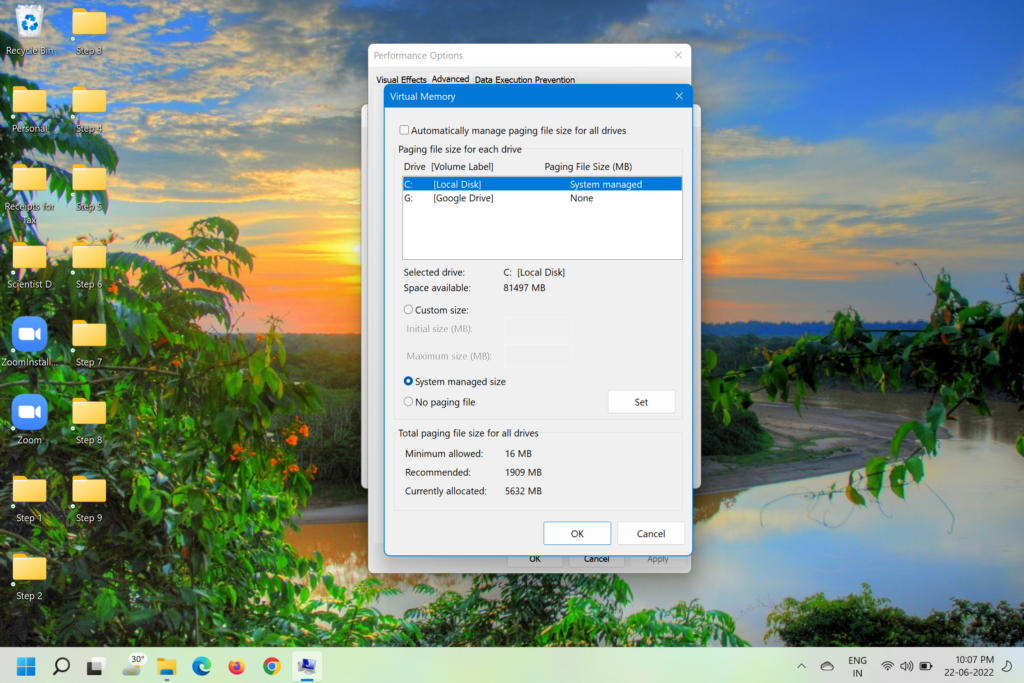
- Now, uncheck the Automatically manage paging file size for all drives checkbox.
- Select Custom Size and enter the Recommended figure in the Initial Size box.
- In the Maximum size box, enter 8x your RAM size in MB. (For example, if RAM is 8GB enter 1024 x 8 x 1.5 = 12288).
- Now, click Set and then OK.
- Now, restart your PC.
10. Disable Startup Apps
Windows 11 runs several apps automatically in the background whenever you turn on your computer. These apps take up significant space at times. You can disable unnecessary startup apps by following the steps below.
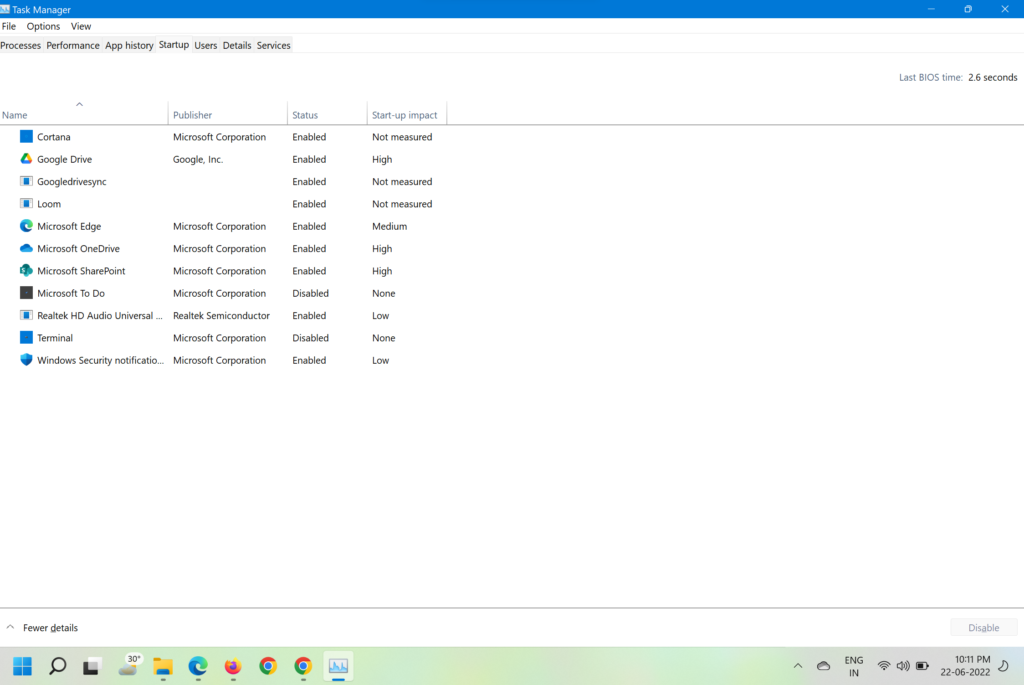
- Press Ctrl + Shift + Esc to open the Task Manager.
- Tap on the Startup tab on top.
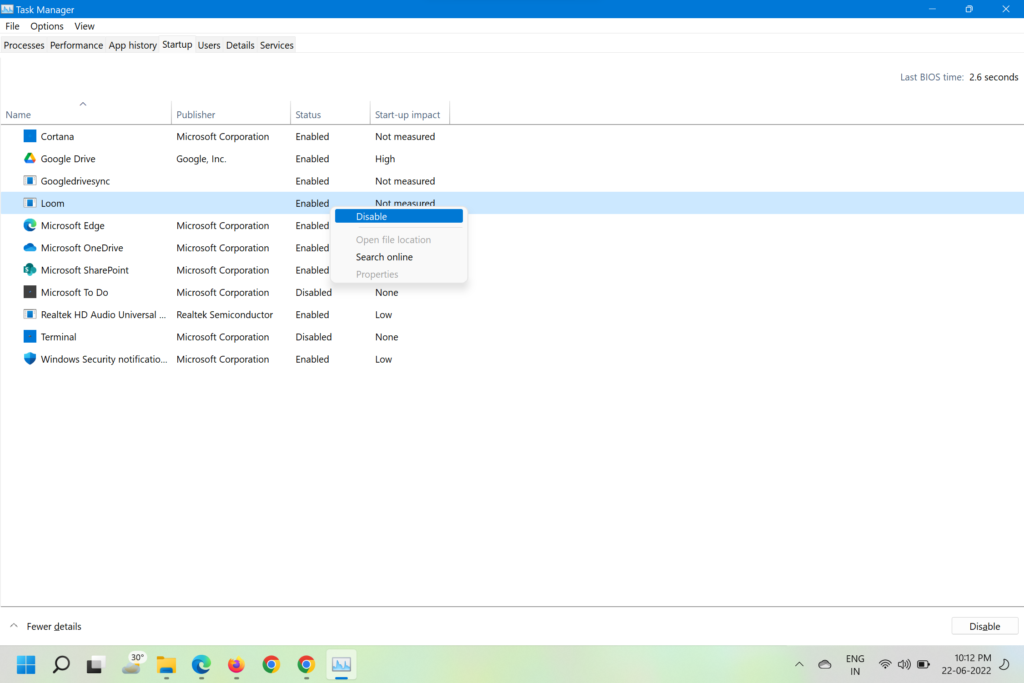
- Check out the list of apps.
- If you see a startup app, which you don’t use during start-up, simply click on Disable after right-clicking on it.
- Do this for all unnecessary startup apps.
Why is my disk constantly on 100%?
There are several reasons behind 100% disk usage. It could be because of Virtual RAM, Background apps, startup apps, and more. You can follow the steps in this article to resolve the issue.
What is Superfetch and should I disable it?
SuperFetch enables a snappy startup by launching apps even before Windows could get up and running. However, the background service uses both CPU and GPU resources and tends to slow down the PC. It’s best to disable it to speed up your computer.
Will SSD solve 100% disk usage?
Yes, apparently SSD doesn’t show 100% disk usage all the time. Your computer will feel a lot faster after upgrading to SSD.
Final Words
These are the most effective ways to resolve the 100% disk usage issue on a Windows 11 machine. Additionally, a clean install of Windows 11 and upgrading to SSD storage also seem to resolve the issue for many users. Let us know if any of these methods worked for you, in the comment box below.