Due to a bug or latest update for OS and applications that you have installed on your computer, it is possible that some processes or apps start using high CPU. Lots of users are reporting the same about “Windows audio device graph Isolation”. If you make up to this blog post, then you’re also facing the same issue, right? Fortunately, it is possible to fix Windows Audio Device Graph Isolation high CPU usage. Before that, we would like to share everything about it so that there’s no doubt left in your mind.
What is Windows Audio Device Graph Isolation?
Windows audio device graph isolation, also known as AudioDG.exe, is an essential component of the Windows Audio engine. It handles the advanced audio enhancement effects provided by Windows. It also provides digital signal processing where it serves as an audio engine that let run third-party apps sound on your computer system. With the help of windows audio device graph isolation, audio device manufacturers can use their audio enhancement service without replacing the Windows Audio service for better stability.
Is Windows Audio Device Graph Isolation a virus?
Nopes, Windows audio device graph isolation isn’t a virus. It is an essential component of your operating system. Many times, people have reported some malicious process like this is running in the background. So, it is better to cross-check about the processes running on your computer system. For checking if it is a virus or a normal process, all you need to know is process location by below steps:
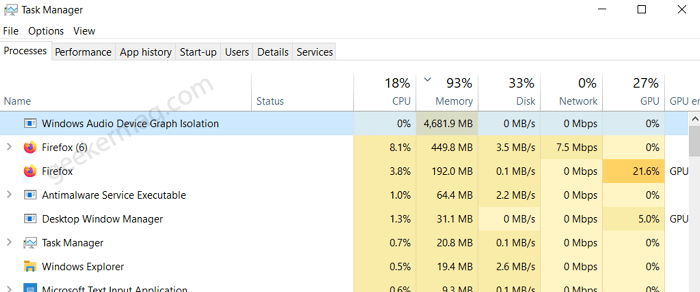
Open Task Manager.Right-click on Windows Audio Device Graph isolation ( In some cases, it would show as AudioDG.exe.) & open file location.You can locate the file in C:\Windows\System32 named Windows Audio Device Graph, or it might be named AudioDG.exe.If the file location is the same as above, it isn’t a virus.
Is it OK to disable Windows Audio Device Graph Isolation?
You can’t easily disable windows audio device graph isolation as you have to disable windows audio service, leaving you with no sound on your computer system. It isn’t even possible to disable it temporarily. In case, you’re facing high CPU usage due to window audio graph isolation, we recommend resolving the high CPU usage by the below-listed methods instead of disabling it.
Fix – Windows Audio Device Graph Isolation’s high CPU usage in Windows 10
Now you have enough knowledge about Windows Audio Device Graph Isolation, right? If you’re experiencing high CPU usage issue due to this application, then you can try the following methods to fix the issue:
Run Audio Troubleshooter
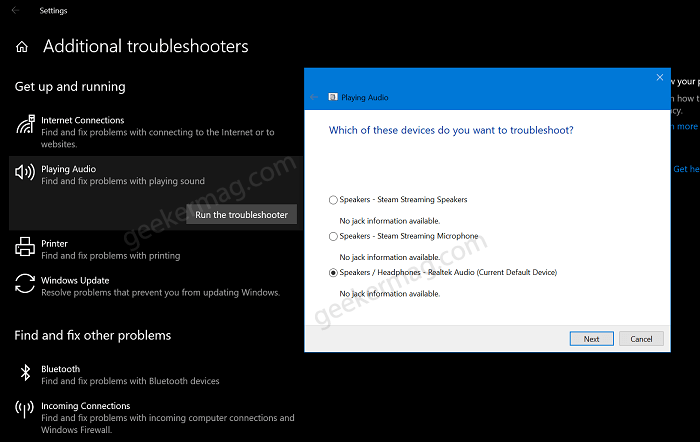
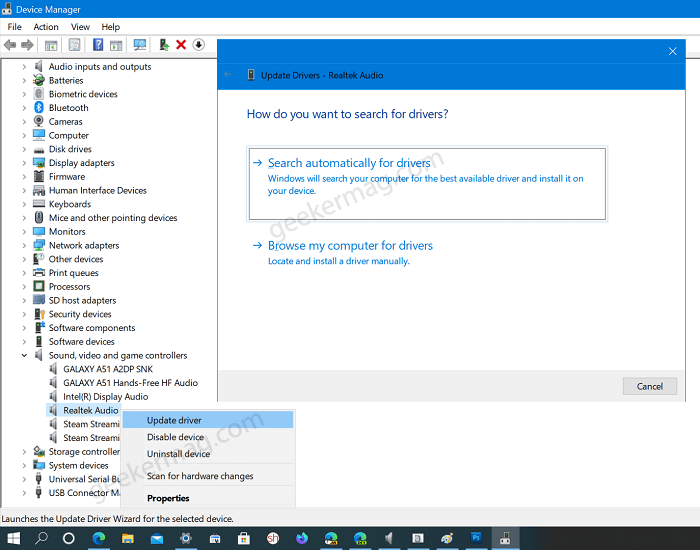
Majority of users suggested that they fixed the issue just by running Audio Troubleshooter that comes out of the box in Windows 10. Here’s how you can use it: In Start menu search, type Troubleshoot settings and when it appear in results, click to Open it. Here, click on the link which reads “Additional troubleshooters“. On the next page, you will get a complete list of Troubleshooters, you need to click on Playing Audio and then Run the Troubleshooter. Wait for few seconds and follow on-screen instructions to fix the issue. Update Audio Drivers Check if latest audio drivers are available for your device. In latest version of Windows 10, most of the OEMs are releasing drivers via Windows Update. So you can visit here Settings > Update & Security > Windows Update > Check for Update. If available any download and install it. Alternatively, you can also do the same via Device Manager. For that, right-click on Windows button and select Device Manager. Here, click on the Sound, Video, and Game controller. From the list select Audio driver, right-click on the same, and from the menu select Update Driver. Next, select Search automatically for driver. If the latest driver is available, Device Manager will download and instantly it automatically. Make sure, you’re connected to the Internet while following this method.
Check for Virus or Malware
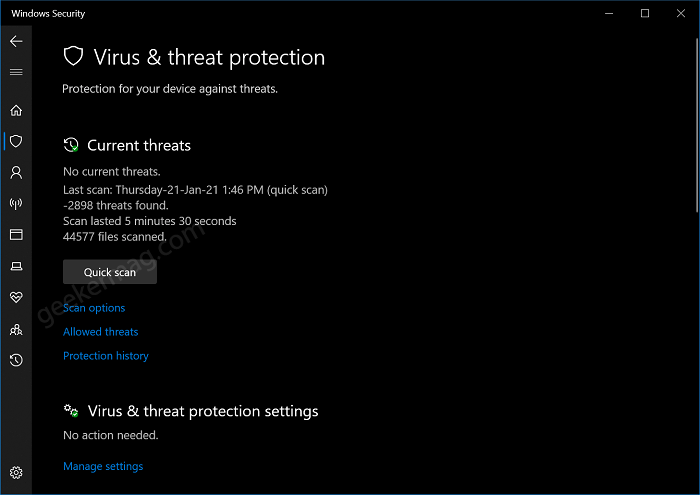
Sometimes, you can face Windows Audio Device Graph Isolation’s high CPU usage due to malware and virus on your computer. So, scan your computer, if your device is under the attack of Malware and Virus. You can use Windows 10 Security app to do the same. For that, search for the Windows Security app, and when the app appears in search results, click to open it. Next, click Virus and Threat protection and after that, click Quick Scan. Let the app scan the system if any threat is available it will delete or quarantine it. Alternatively, you can do the same if you’re using third-party antivirus program on Windows 10
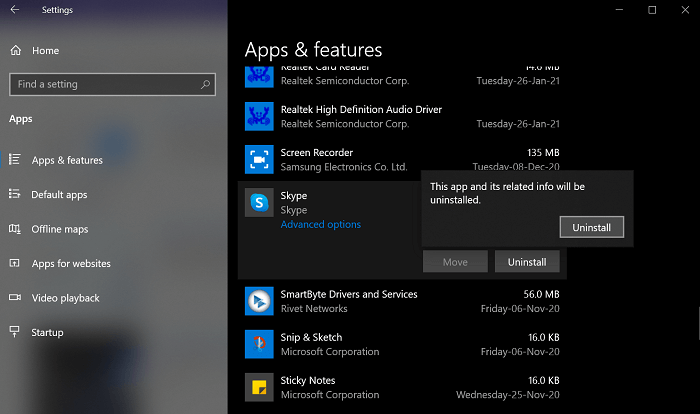
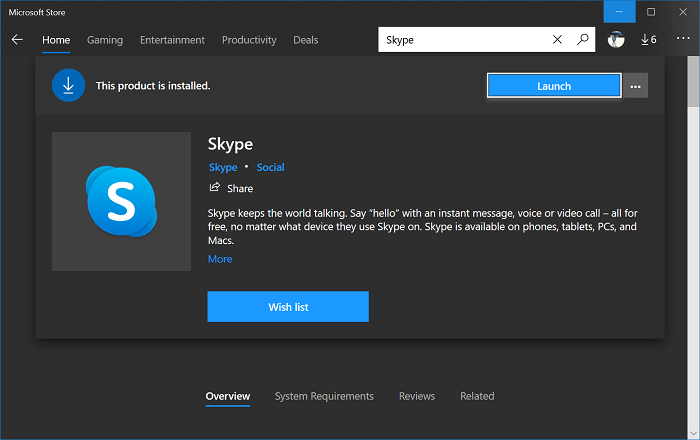
Uninstall and Re-install Skype
Some users suggested that they’re experingt his because of the Skype app and there’s no exact reason behind why its happning. You can also try to Uninstall and Re-reinstall Skype app on your Windows 10. Skype app comes preinstalled in Windows 10 and available as separate app on Microsoft Store so process to do the same is super easy. Here’s what you need to do: Launch Settings app and then select Apps. Next, on the right side from the list of installed apps on your device look for Skype, select, and click Uninstall Twice. Reboot your computer After that, launch Microsoft Store app, search Skype. From the Skype product page, click on the Install button. Let us know what helps in fixing the issue? In case, you know any other method that we miss to cover in this blog post, then feel free to share with us via comments.