According to reports from various users, as soon as they disable CMS their PC show no boot drives and doesn’t boot or boot into BIOS. If you made upto this blog post then we presume that you also facing the same issue, right? To help you out we decided to cover this blog post in which you will find out why its happening and how to fix it. So why this happening? On Intel motherboards, CSM (Compatibility Support Module) should only be disabled if your GPU is UEFI compatible. If not, you’ll run into the issue you’re reporting. If you had CSM enabled on your UEFI bios it’s entirely possible that you have a MBR disk and not a GPT disk
Fix – Disabling CSM Windows 11 PC Won’t Boot
So if you’re facing this issue, then its highly possible that partition style is MBR. To fix this issue, you need to covert partition style from MBR to GPT and then change boot mode to UEFI
Converting Partition Style
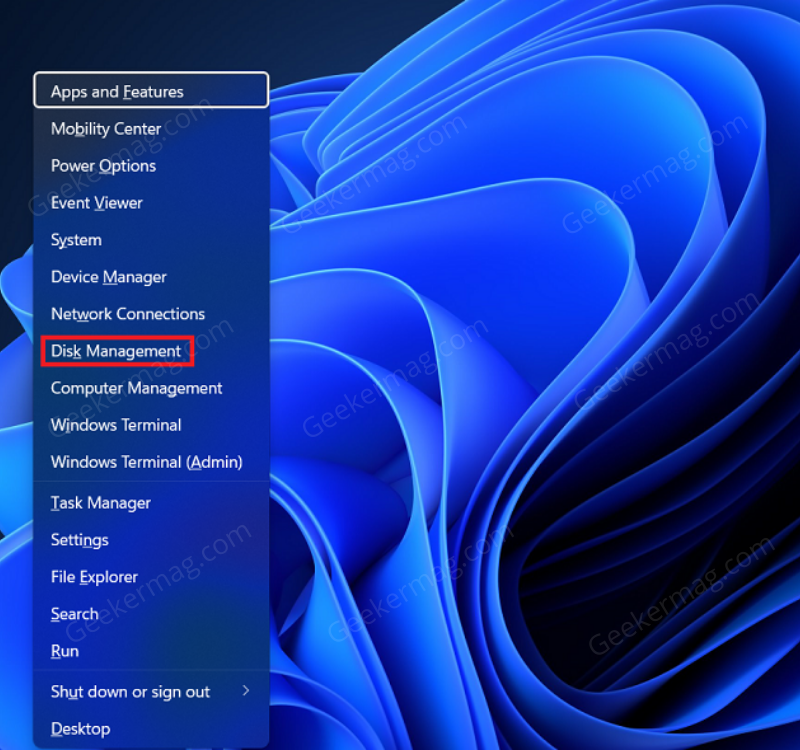
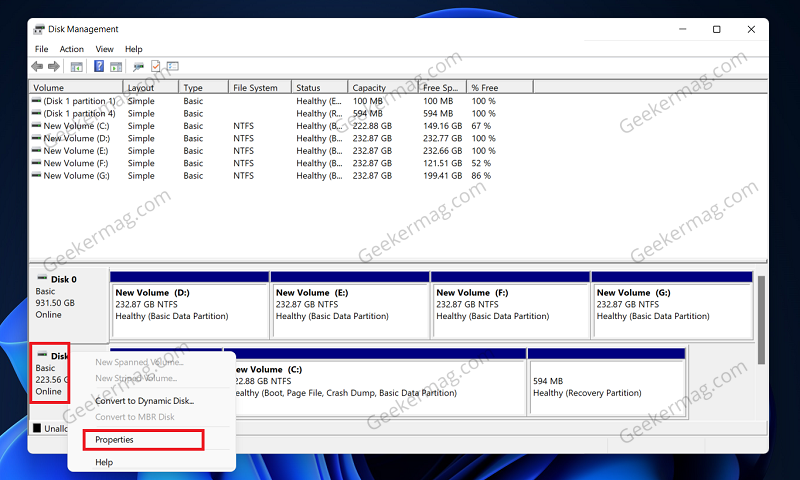
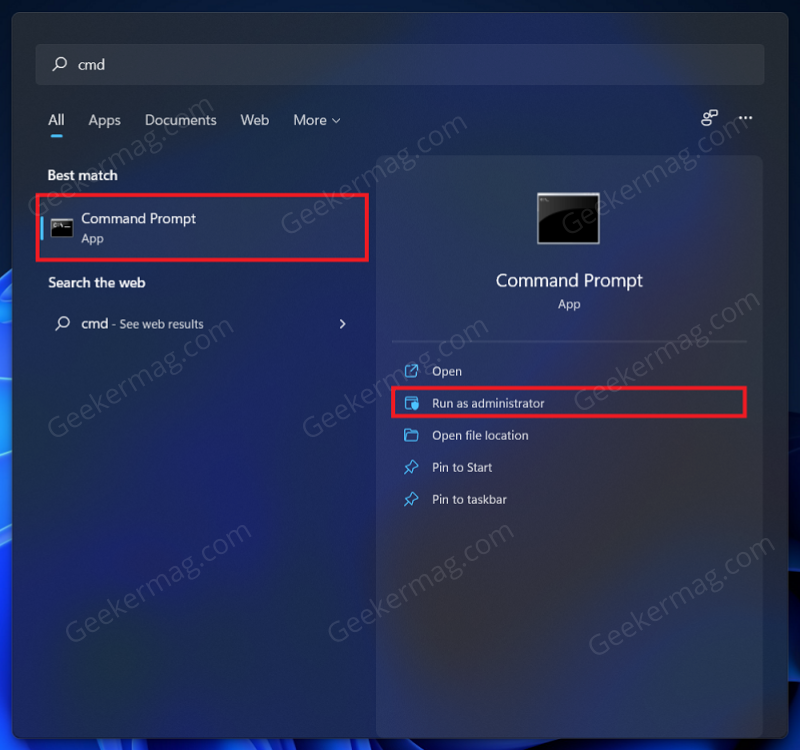
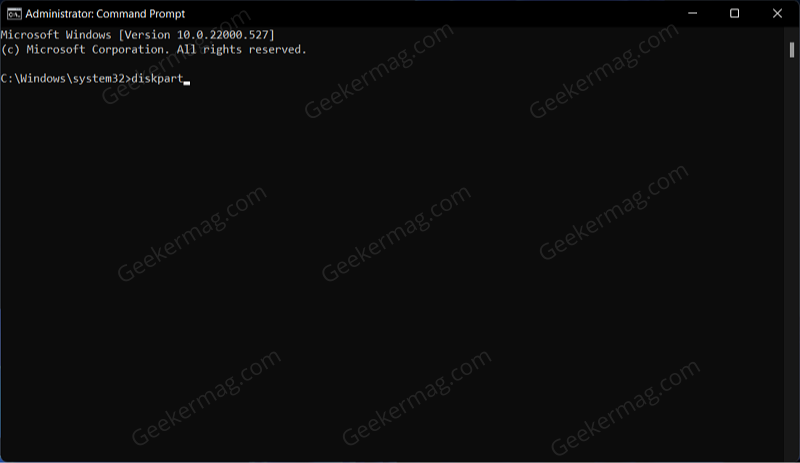
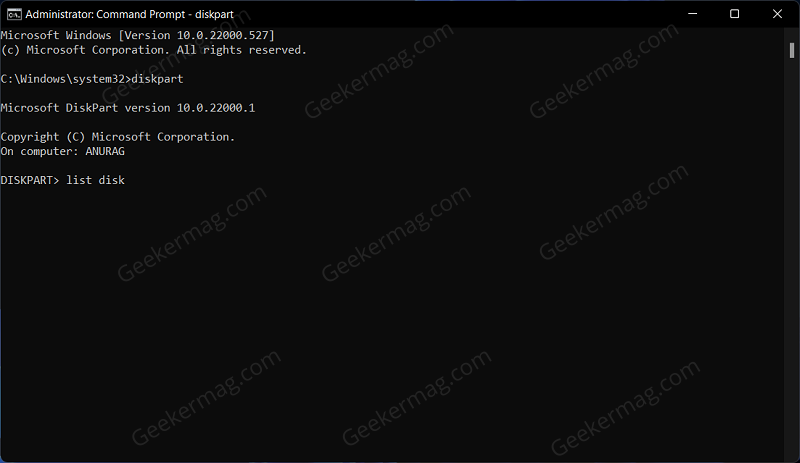
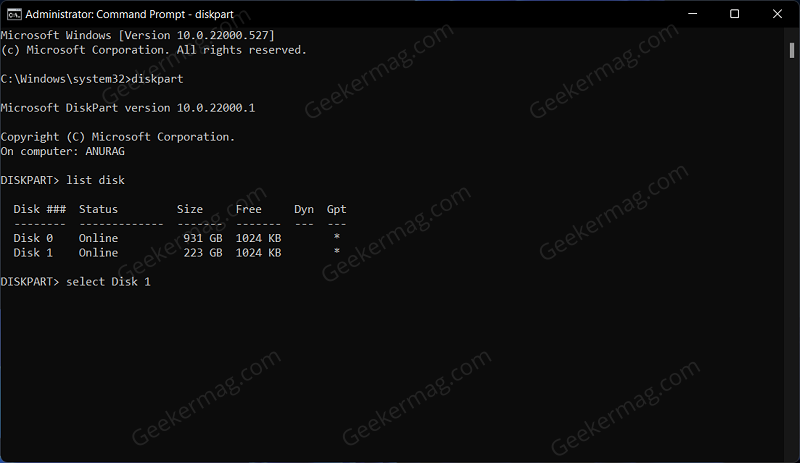
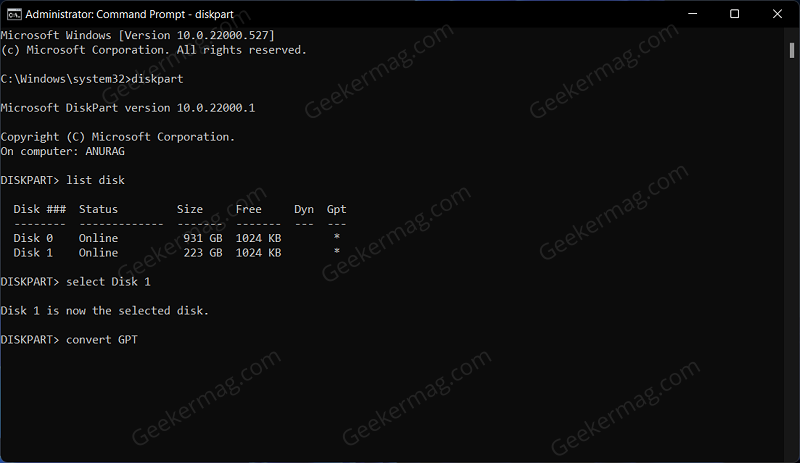
First of all, you need to check the partition style on your PC. For that, press the Windows + X key combo, and then from the menu select Disk Management. Now right click on the Disk (Windows installation drive c:) and then click on Properties. In the Properties window, head to the Volume tab, and then see the Partition Style. If the partition style is GPT, then you can skip this part, and move to the second. However, if the partition style here shows MBR, then you will have to convert it to GPT first. To do so, follow the steps given below- Press the Windows key on your keyboard and search for CMD. Now select Command Prompt and then click on Run as Administrator. In the Command Prompt, type the command DISKPART and hit Enter. Next, in the Command Prompt, type in the command list disk and hit Enter to execute it. Now, type the command select disk 1 and hit Enter. Do note, that we have taken 1 as the reference here. You will have to replace 1 with the disk number that you want to convert from MBR to GPT. Next, execute the command convert gpt in the Command Prompt to convert the partition style from MBR to GPT. Once the partition style has been converted, you can confirm it using the Disk Management application by following the steps mentioned above.
Changing Boot Mode To UEFI
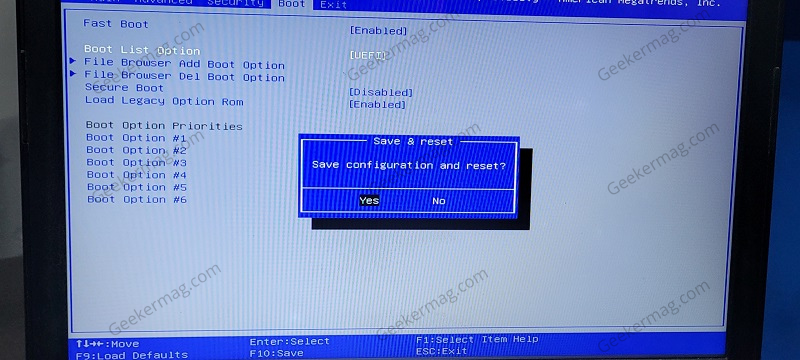
Now continuing to the second part, you will have to convert changing boot mode to UEFI. You can do so by following the steps given below- Restart your PC and boot into BIOS menu. Generally, the key to access the BIOS menu is F1, F2, F10, F12, or DEL. If you are unsure about the BIOS key for your PC then you can search for it on the internet. After heading to the BIOS menu, head to the Boot tab. Here, select UEFI/BIOS boot mode option and hit Enter to change it. From the list select UEFI and hit enter to change the boot mode to UEFI. Once done, press F10 to save the changes and exit the BIOS. By doing so, you will be able to fix the issue you are facing, and your PC will boot normally.