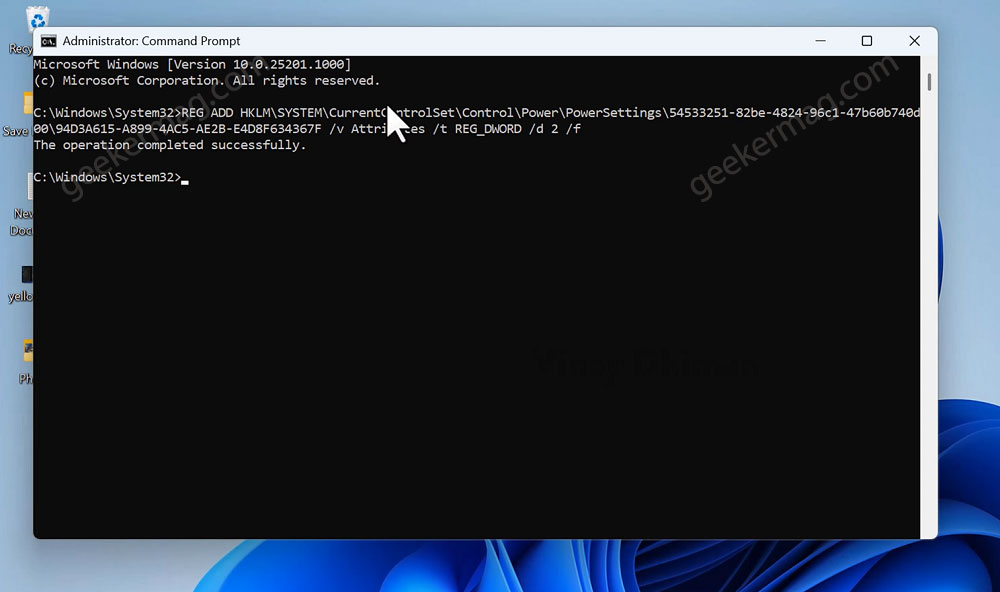
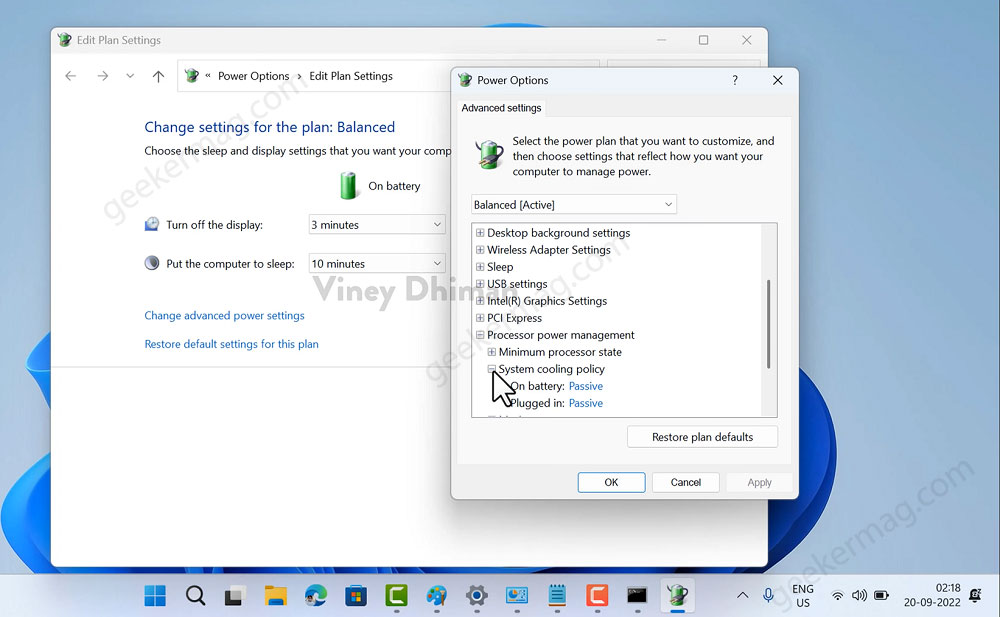
The ‘System Cooling Policy’ allows users to change the (Active or Passive) cooling mode on the PC. Active cooling mode increases the speed of the fan before slowing the processor, while Passive cooling mode, increase fan speed before slowing the processor. Most of the time users manage this setting to “Reduce Loud Laptop Fan Noise Windows” or to achieve other things. It will be annoying if System Cooling Policy is missing in the Power options, right? If you landed on this blog post, then you’re one out of them for sure. In this blog post, we will share how to add a System Cooling Policy in Power options or restore the same option. Here’s what you need to do: Click on the Search icon available on the Taskbar, type CMD, when Command Prompt appears in the search results, and ‘Run as administrator. When the UAC dialog box appears, click on Yes to continue. Here, you need to execute this command: REG ADD HKLM\SYSTEM\CurrentControlSet\Control\Power\PowerSettings\54533251-82be-4824-96c1-47b60b740d00\94D3A615-A899-4AC5-AE2B-E4D8F634367F /v Attributes /t REG_DWORD /d 2 /f Once you receive a message “The operation completed successfully”, confirm that you’ve added an option. Now close that Command Prompt. After doing that, if you open the Power Options dialog box, this time you will find “System Cooling Policy”. You can use this setting depending on your requirements. Although, there’s no reason to remove the System cooling policy option. In case due to any reason you want to do that, then you need to execute this command: Command to remove - powercfg -attributes SUB_PROCESSOR 94D3A615-A899-4AC5-AE2B-E4D8F634367F +ATTRIB_HIDE That’s all about this blog post. This is how you can add or fix the ‘System Cooling Policy’ missing in Power Options Windows 11/10